Holidays are just around the corner! With Thanksgiving approaching closer every day, I’m eager to try as many different styles as possible. No matter what style you prefer, this take on the half-moon manicure is a sure win for any occasion!
[show_shopthepost_widget id=”2893221″]
STEP 1
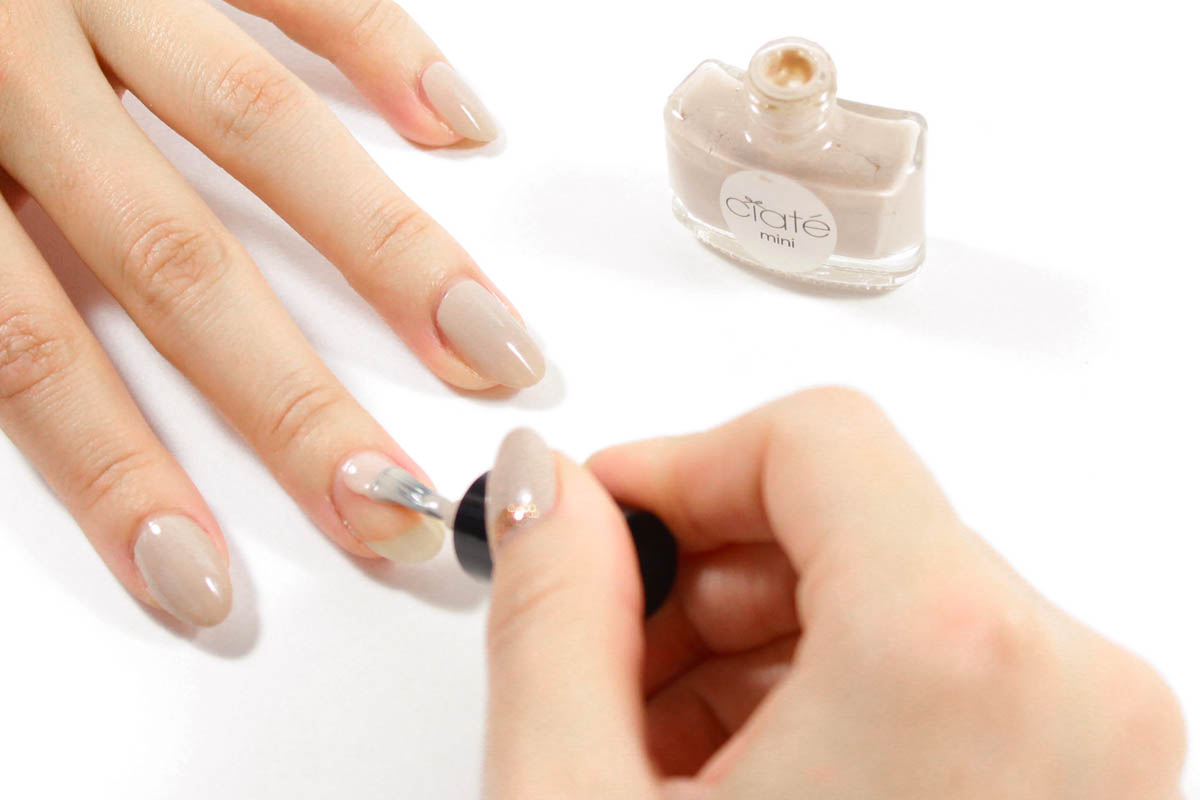
The half-moon manicure became a popular trend between the 1920’s – 1940’s, making it an absolute classic design for your nails. To add a simple yet modern twist on it, take a creamy beige base color. Here I used about three coats of Ciate’s Cookies and Cream (058) for full opacity.
STEP 2
After it’s dried (very important it’s completely dry!), use a gold polish that isn’t too watery (preferably a thicker glitter) and apply a dot at the highest point above the cuticle. (If you use a runnier shimmer shade, there’s a chance it will just streak and ruin the base color. Thick glitters act as an element vs. an effect layer, so they’re better to control on a colored base.)
[one_half padding=”0 5px 0 0px”]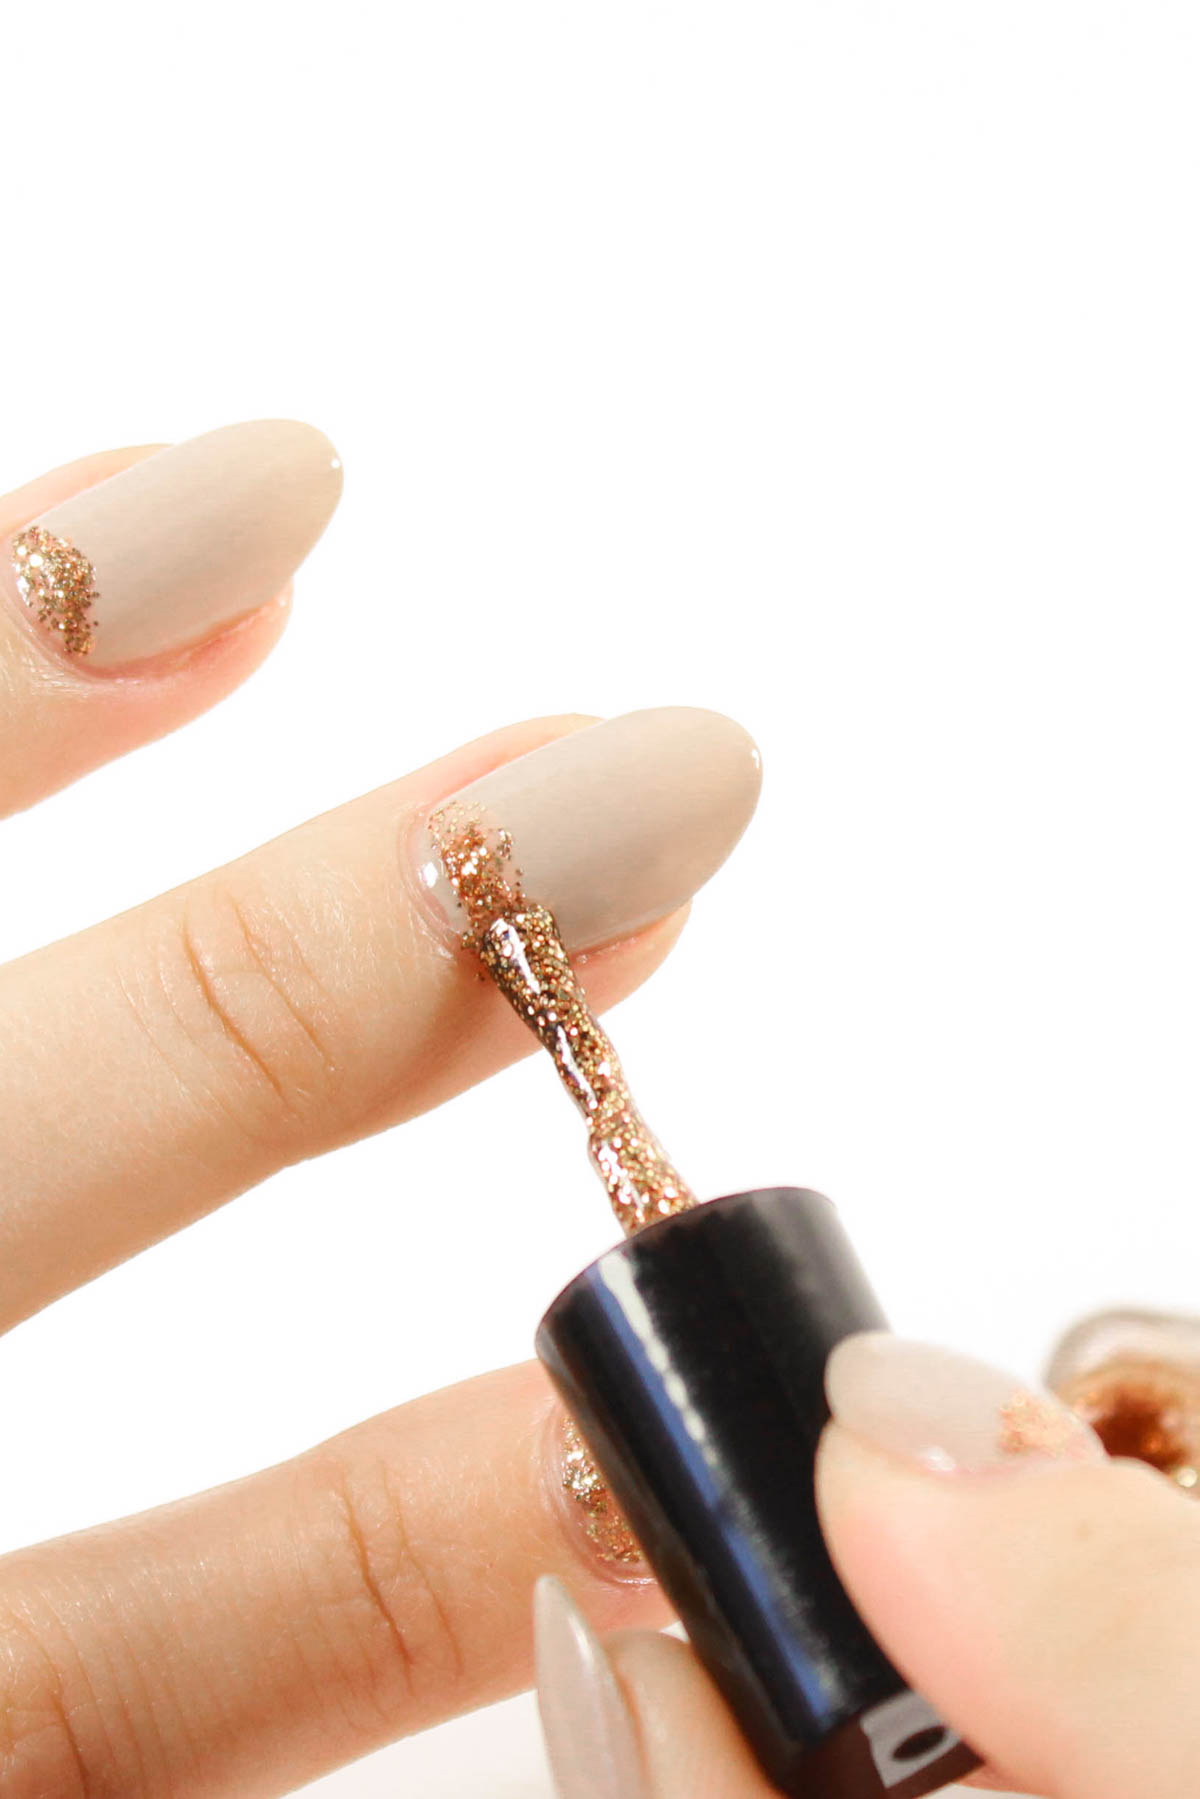 [/one_half]
[one_half_last padding=”0 0px 0 0p5x”]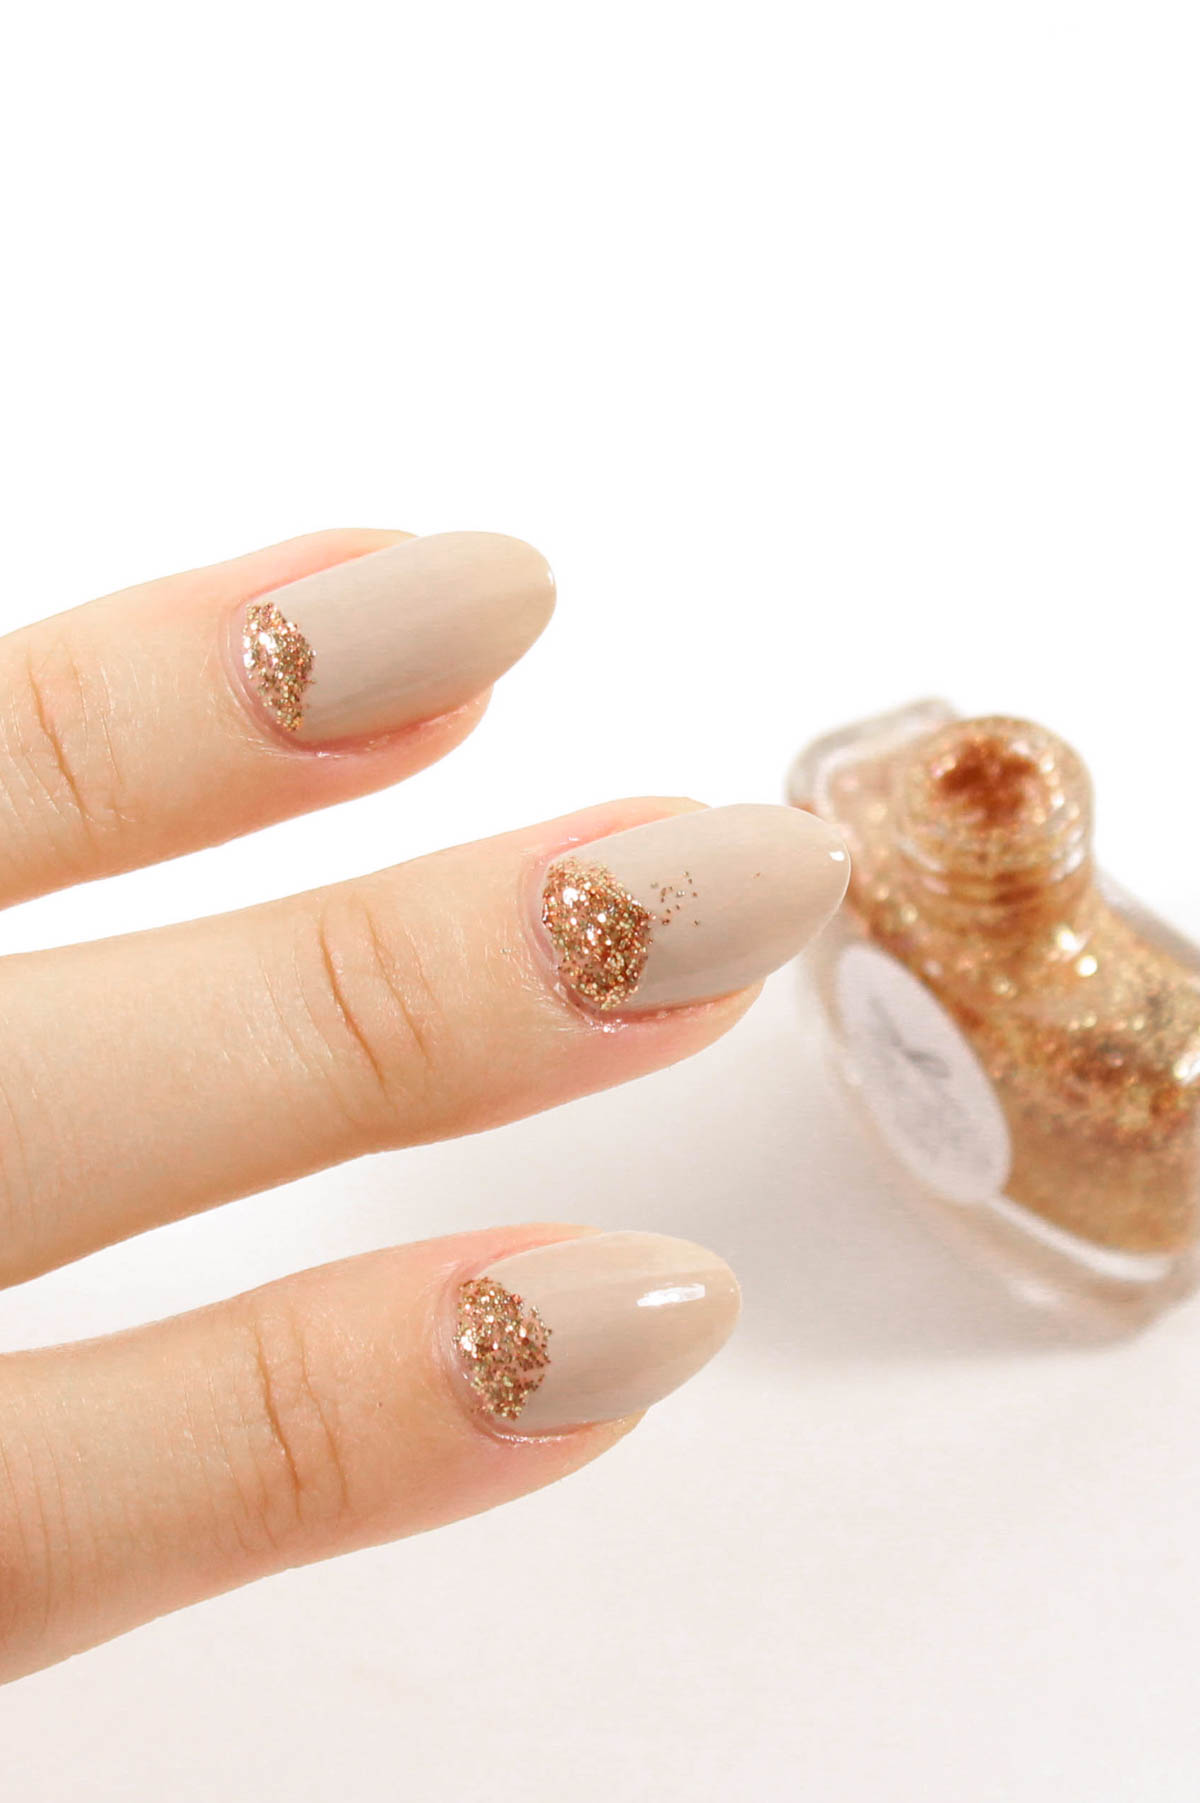 [/one_half_last]
STEP 3
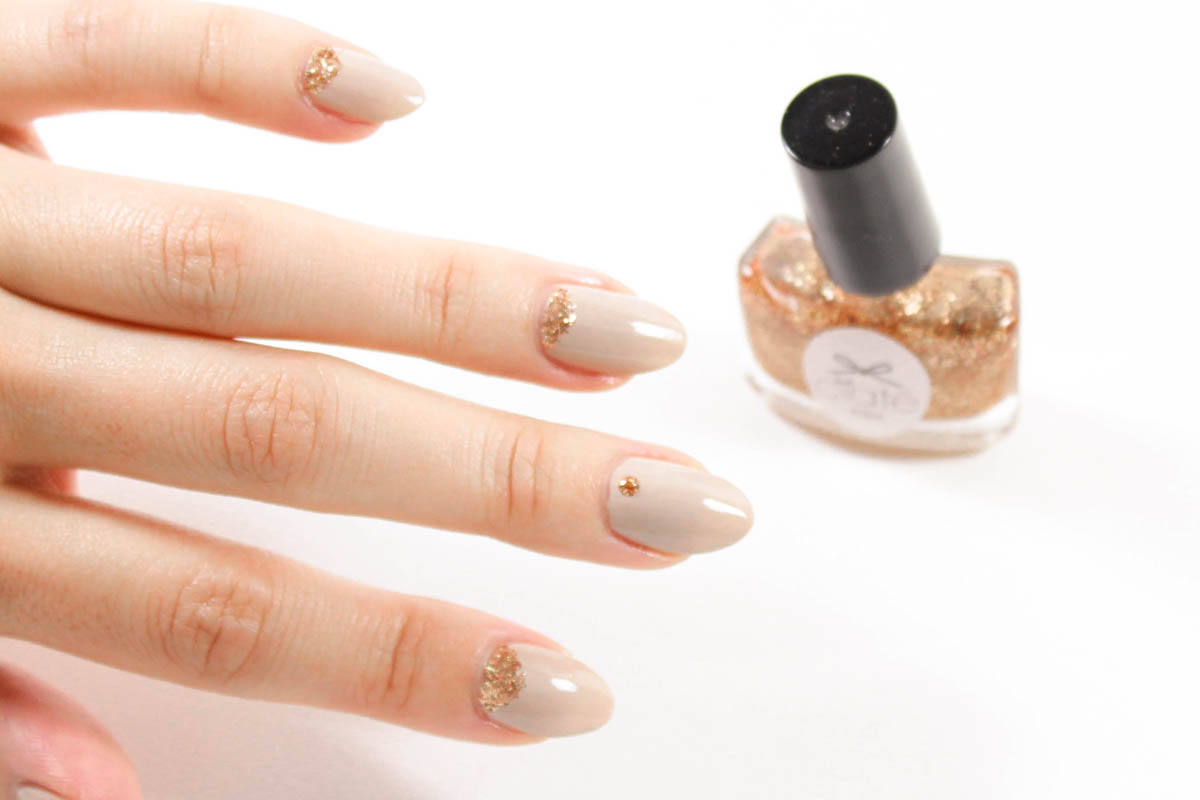
Next, very carefully drag the glittered dot to each corner of the cuticle base. As you do this, do so in a small curve to create the half-moon shape. Be sure to distribute this layer to fill in the half-moon by carefully and lightly dabbing/dragging.
[one_half padding=”0 5px 0 0px”]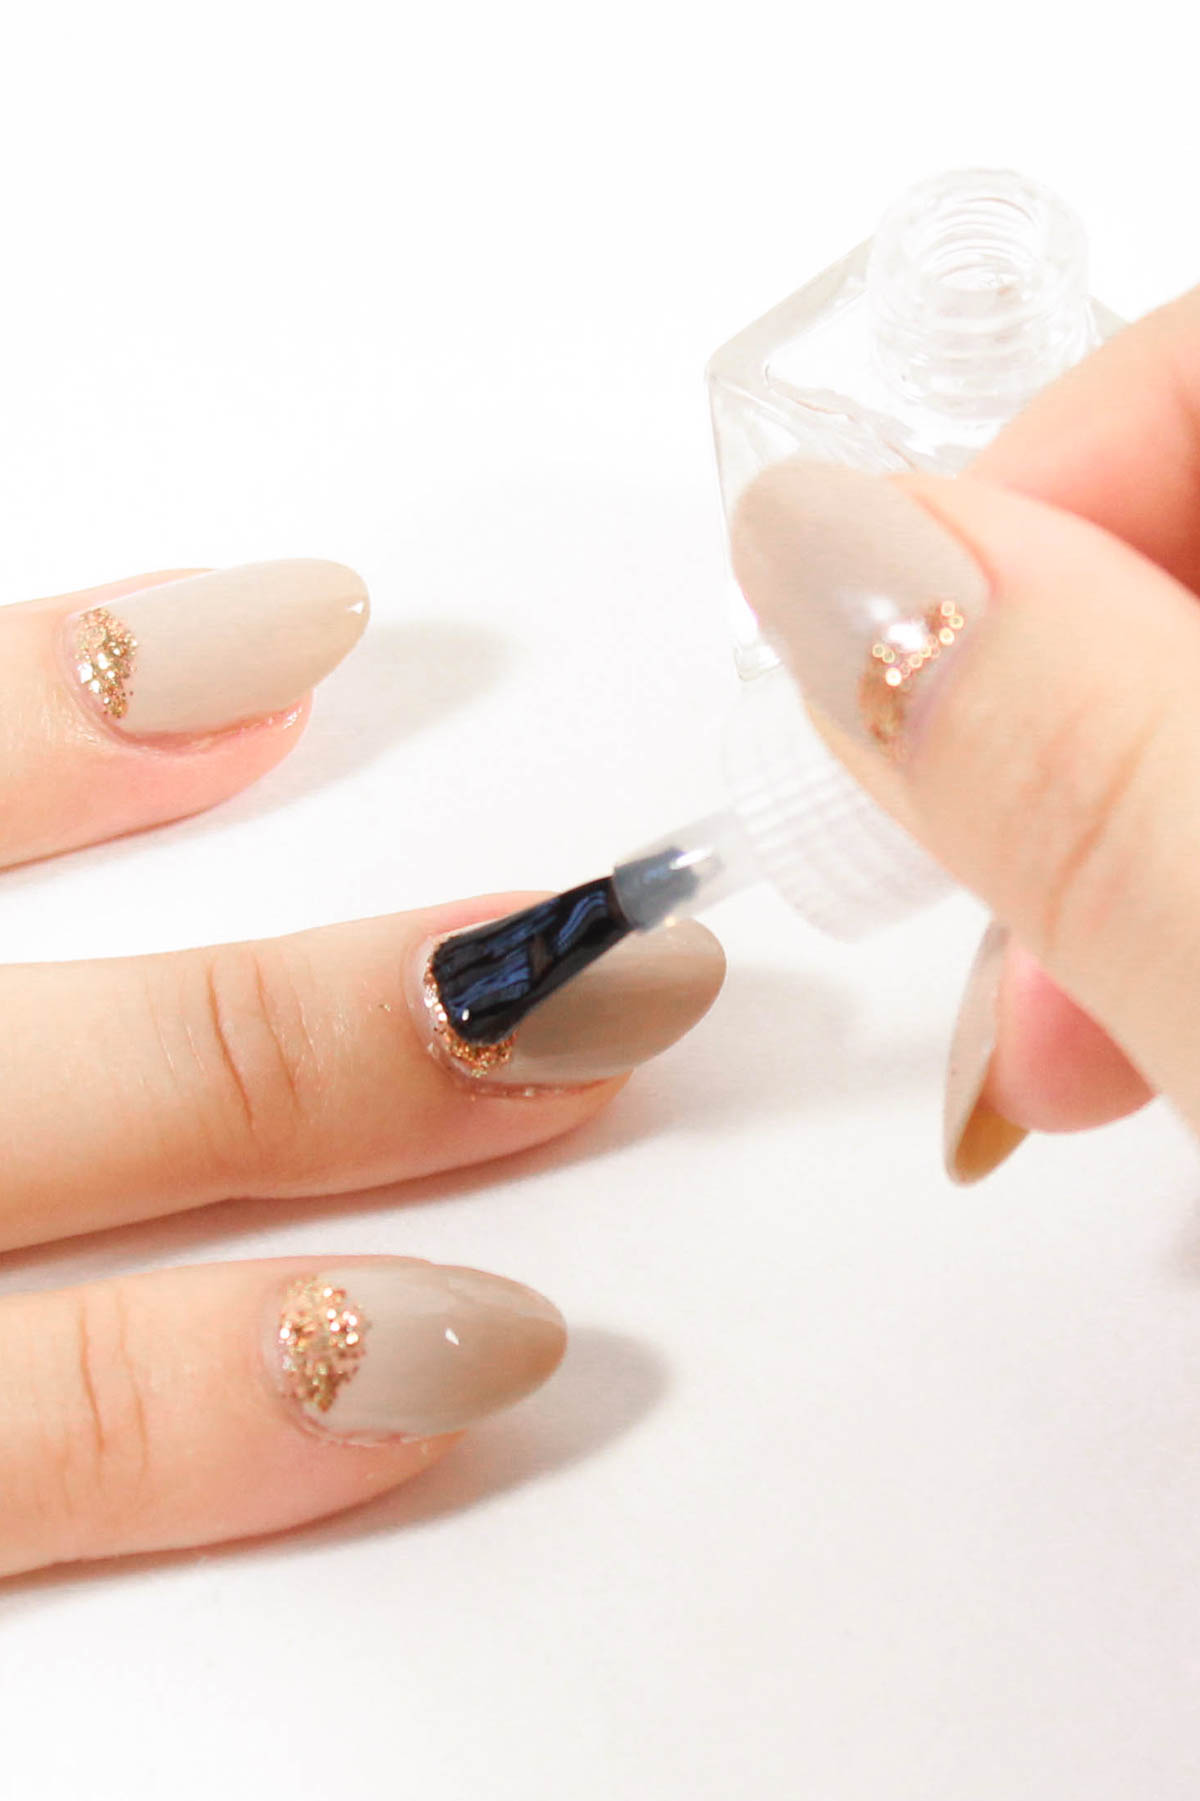 [/one_half]
[one_half_last padding=”0 0px 0 0p5x”]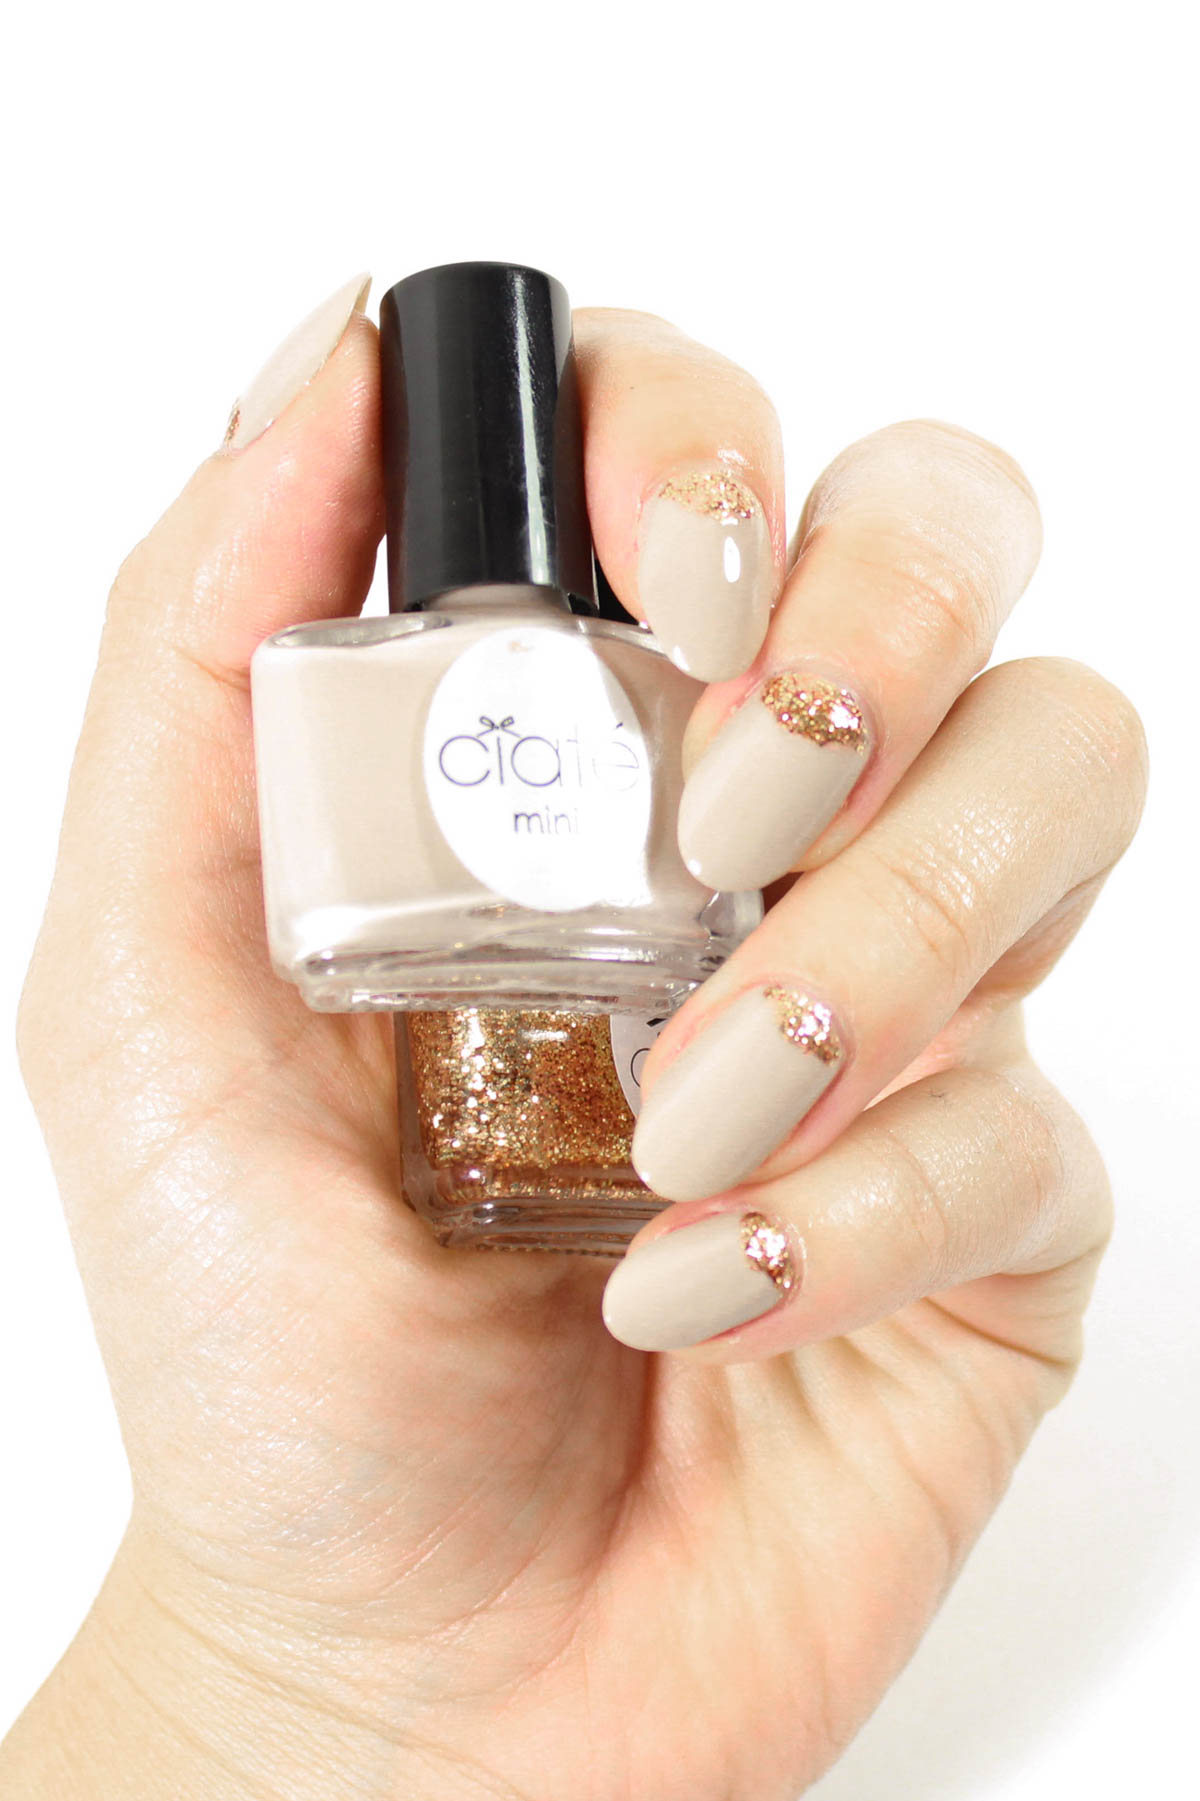 [/one_half_last]
STEP 4
After the half moon is finished, cover up any escapee glitters by applying a layer of nail polish over them. After it’s dried you’ll be ready to apply a top coat for a beautiful finish!
I’m a huge fan of how this turned out, not going to lie. It might even be what I wear at Thanksgiving, which says a lot because I change my nails about 2-4 times a week!




I love this! It’s so elegant and festive!
xo, Elisabeth
http://elisabethhayes.com