I wish someone told me about this technique earlier.
This is a sponsored conversation written by me on behalf of Panasonic. The opinions and text are all mine.
I have no problems using a curling iron, but using a straightener? That was a totally different story.
Flashback to 5 years ago – these flat iron hair tutorials were all over YouTube and for a bunch of my friends, the straightener was their weapon of choice when they curled their hair too. I watched so many different hair tutorials and I still couldn’t master the art of twisting the flat iron to curl my hair. All I ended up with was crimpy curls and tangled chords. I just didn’t get it.
So I avoided using straighteners to curl my hair until I discovered this technique.
Like I said above, curling my hair using a curling iron and curling wand is SO easy for me. Not to brag or anything, but I can usually finish in about 10 minutes or less.
So using the same technique as a curling wand, I discovered the wrap technique. No more twisting your flat iron to curl your hair!
Just like using a curling wand, I just wrapped my hair around one of the plates and let the flat iron slide down for really easy sleek curls.
Here’s how I do it:
Prep Your Hair
Brush through your hair and spray a heat protectant all over your hair. Hot tools can heat over 300 degrees, so make sure your hair is protected!
Choose The Right Flat Iron
Another reason why it was so hard for me to perfect curling my hair with a straightener was because I was using straighteners that did not heat up properly and had plates that would snag my hair.
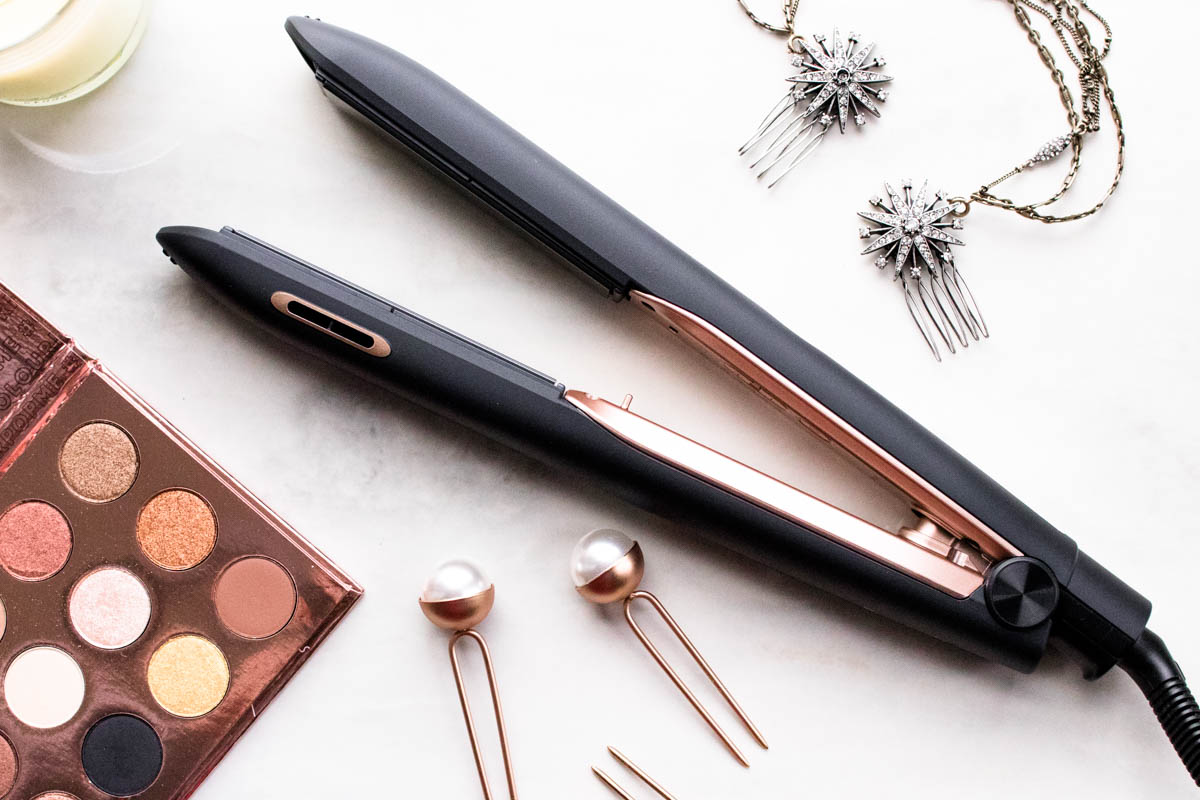
The flat iron I’m using here is new from Panasonic and has smooth ceramic plates that heat evenly so it won’t snag or tug your hair when straightening or curling your hair. I also really like that this Panasonic nanoe™ Flat Iron & Styling Iron heats up fast and uses nanoe™ technology to infuse moisture into my hair to keep my curls smooth and shiny.
[one_half padding=”0 5px 0 0px”] [/one_half]
[one_half_last padding=”0 0px 0 5px”]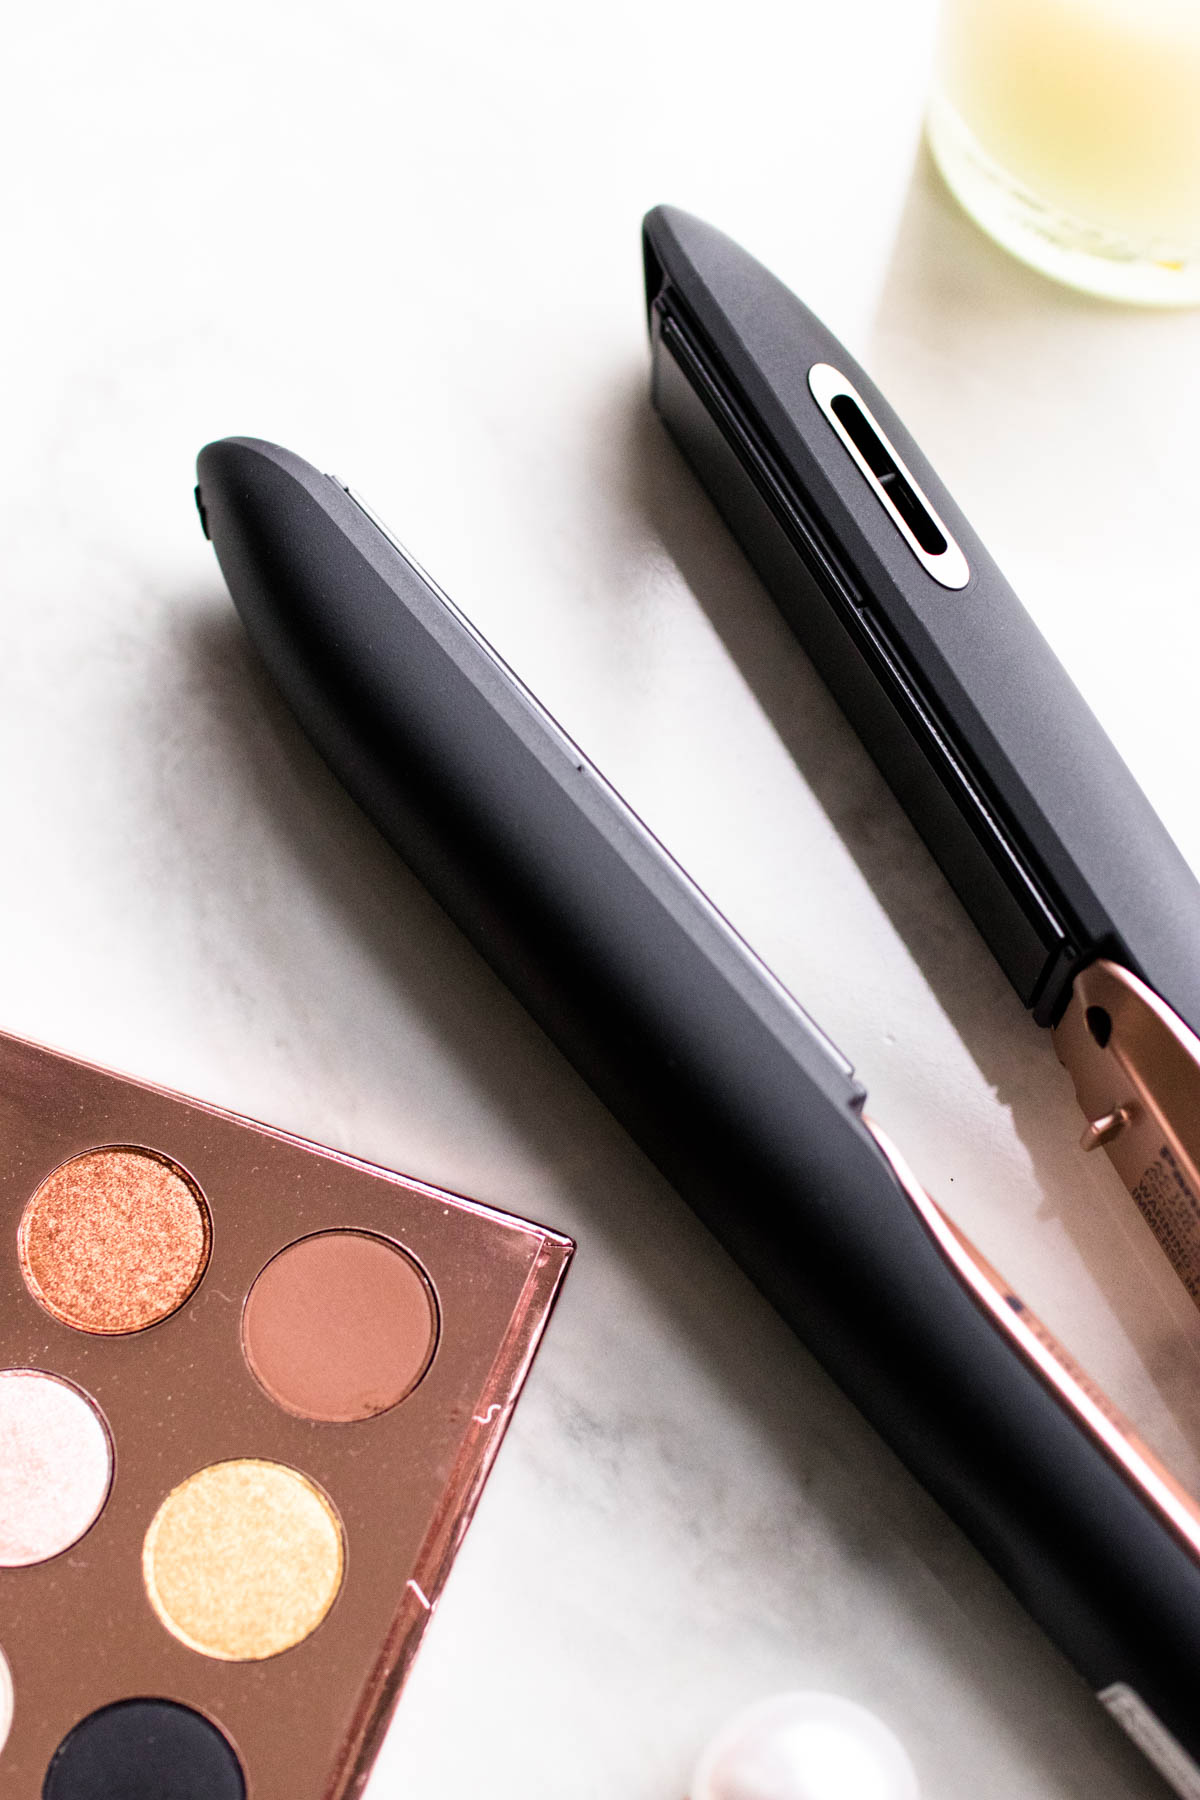 [/one_half_last]
Section Your Hair
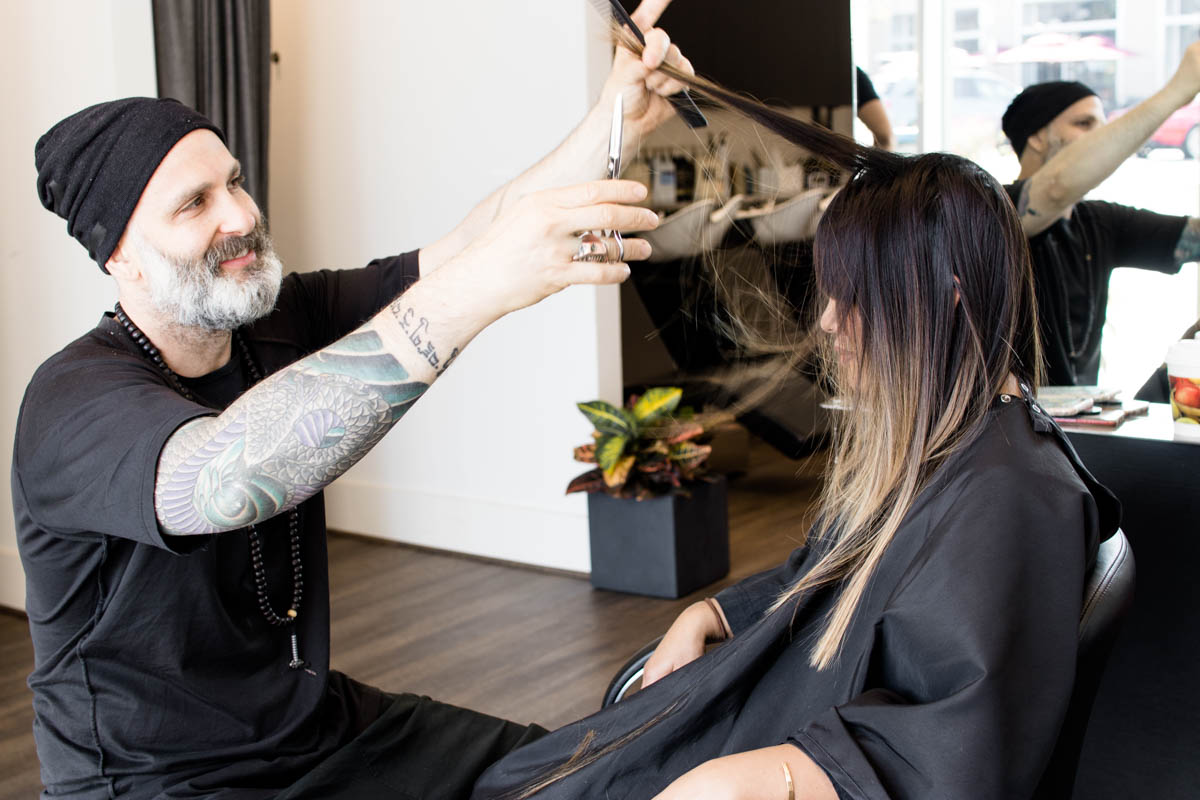
Section off your hair into three: a bottom layer, mid layer, and top layer. Begin curling your bottom layer and clip up the rest.
Use The Wrap Technique
Point your curling wand down and take a 3/4 or 1-inch inch section over the top plate as seen above. Wrap that section around the top plate as many times as you want.
For a more natural wave, start curling your hair around the mid-length and wrap your hair once or twice around the top plate.
[one_half padding=”0 5px 0 0px”]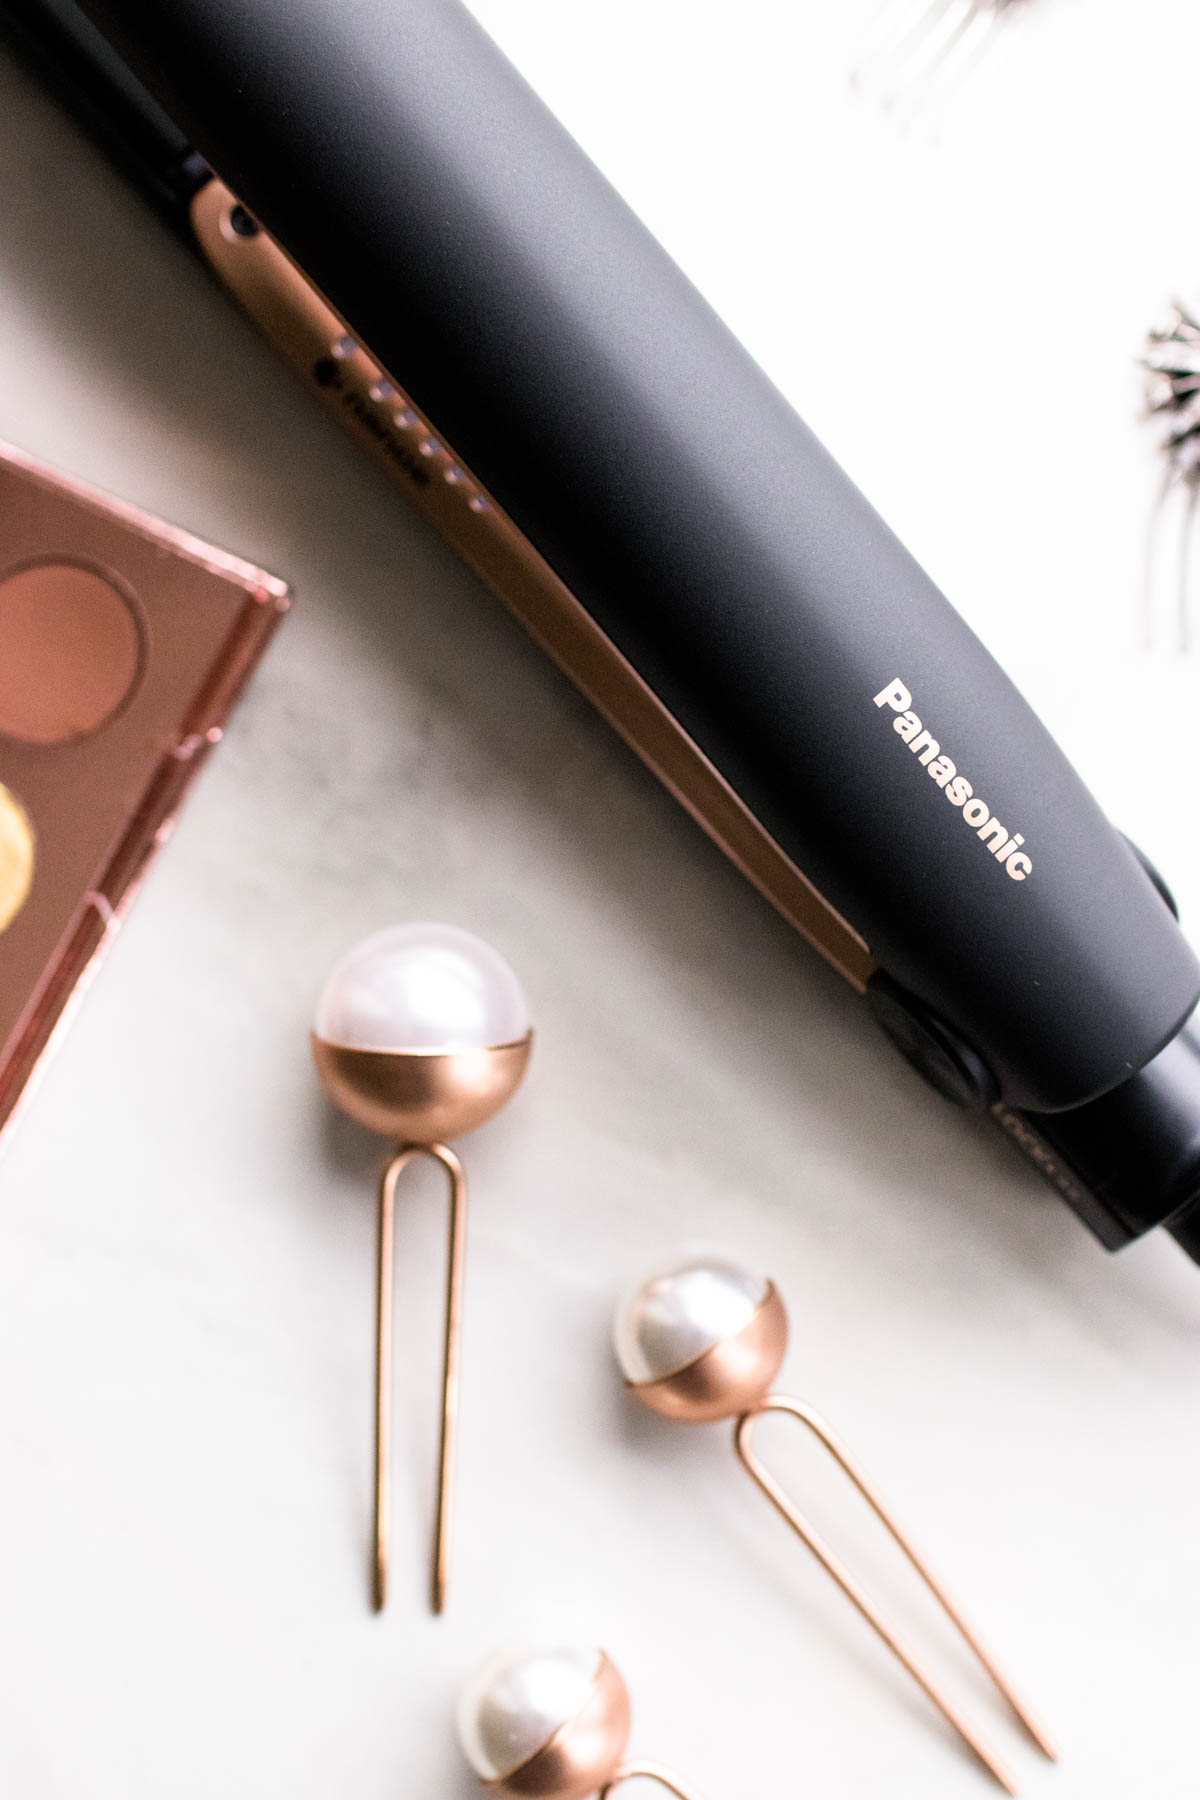 [/one_half]
[one_half_last padding=”0 0px 0 5px”] [/one_half_last]
[one_half padding=”0 5px 0 0px”] [/one_half]
[one_half_last padding=”0 0px 0 5px”]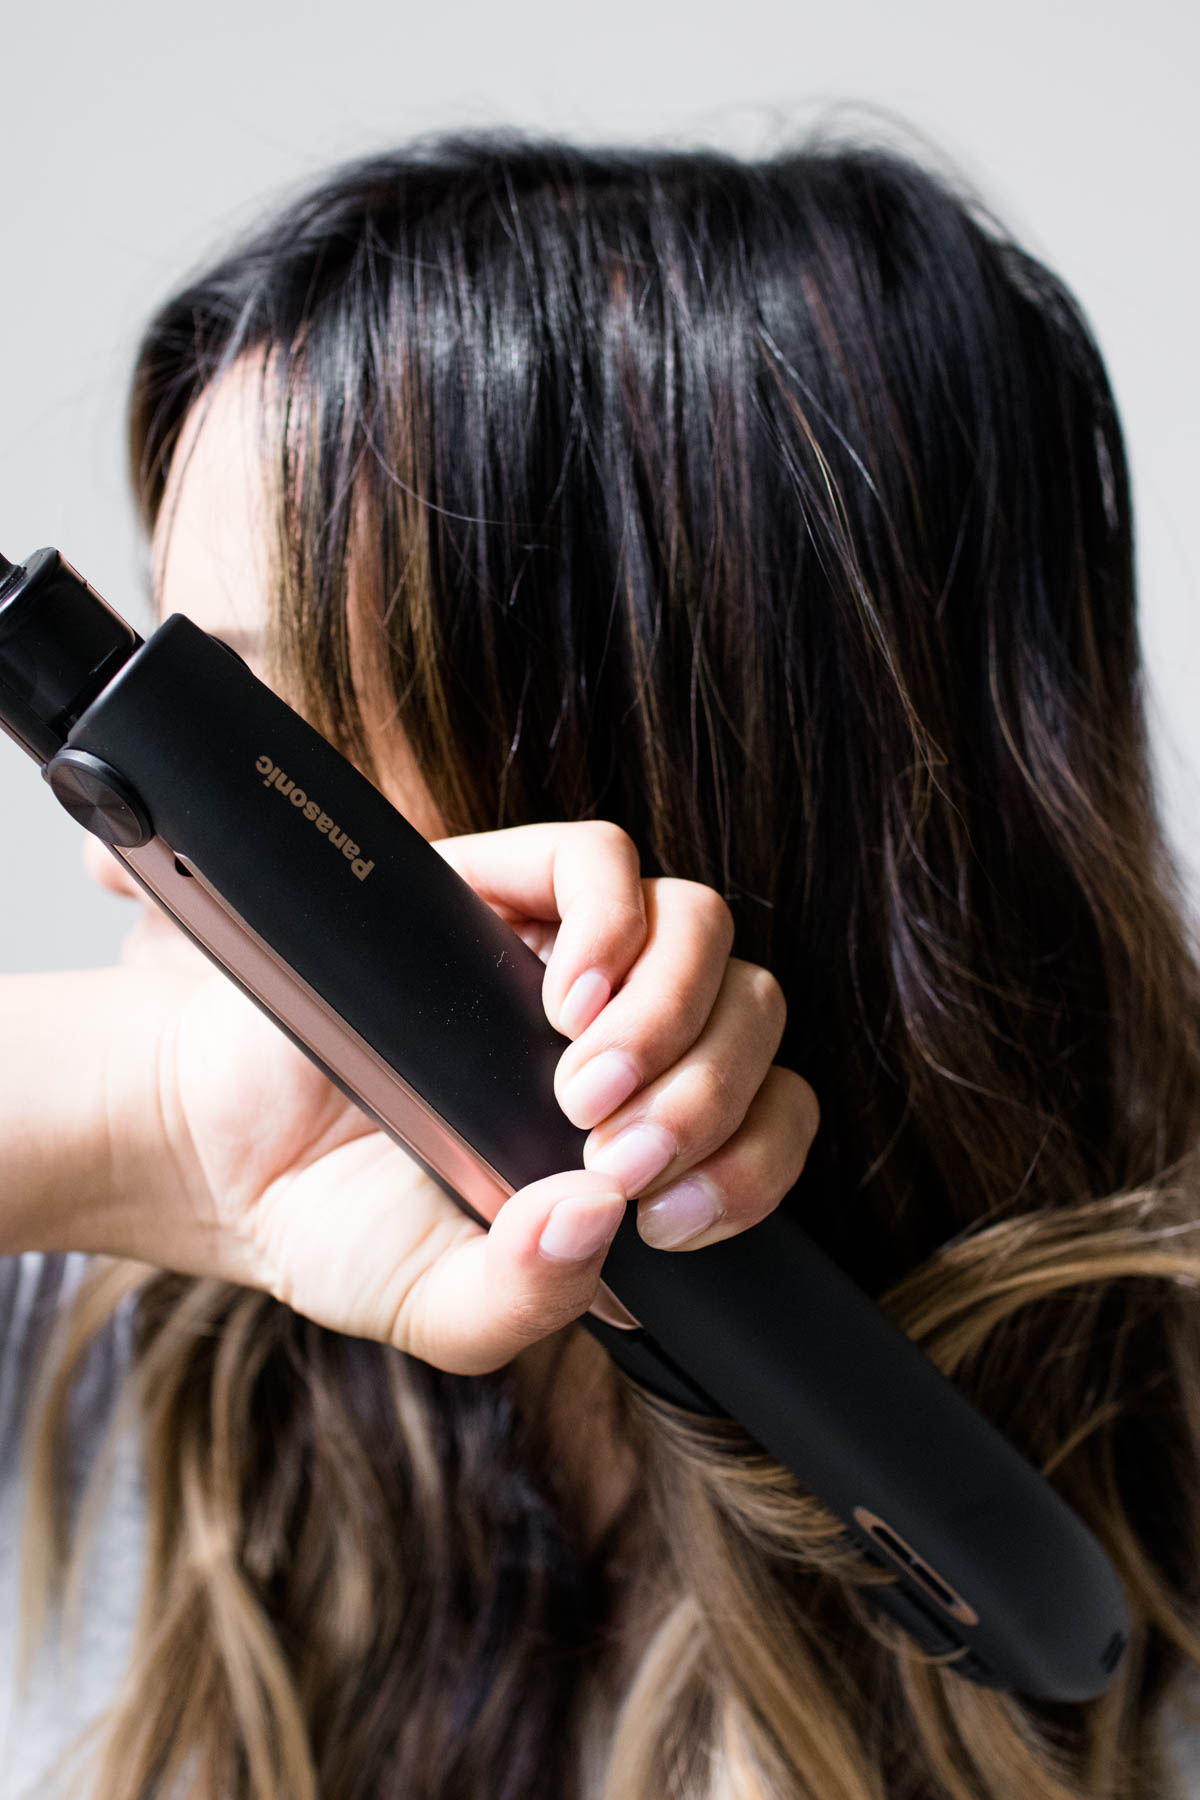 [/one_half_last]
Slide The Flat Iron Down
Once you hair is wraped around the top plate, slowly slide the curling iron down the length of your hair. If you slide it down too fast, your hair might not be curled enough.
For a relaxed wave, stop gliding down at least 1.5 inches away from the ends.
Finishing Touches
To relax the curl even more, brush through your hair and use a texturizing spray for more volume. For a piece-y look, use a little bit of pomade around the ends.

