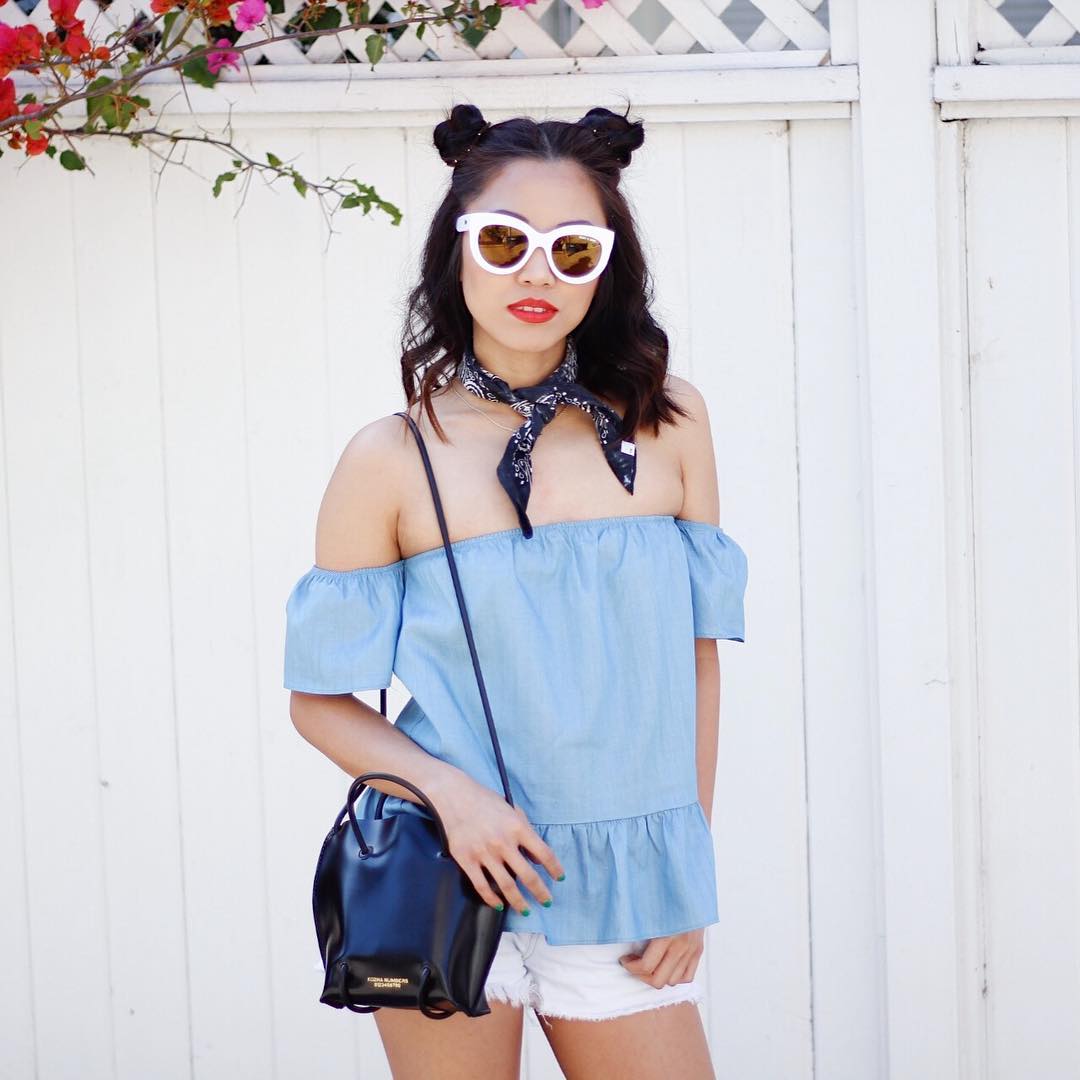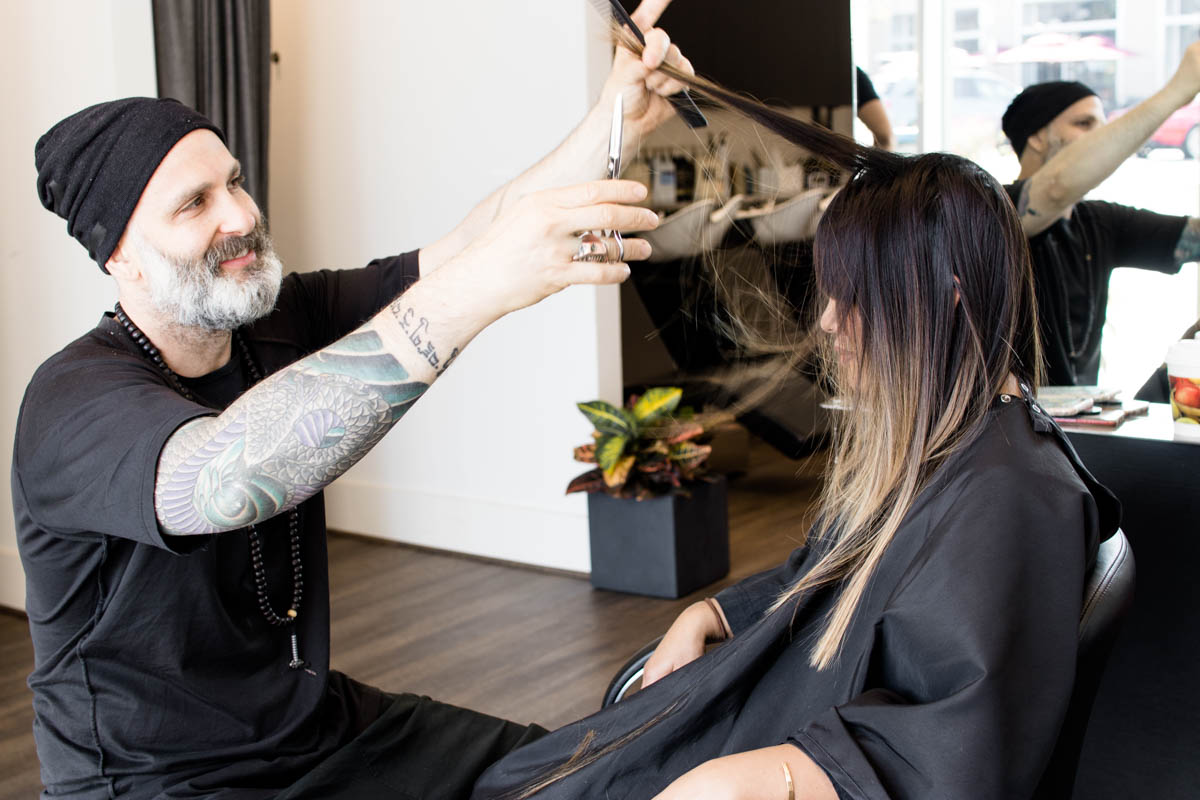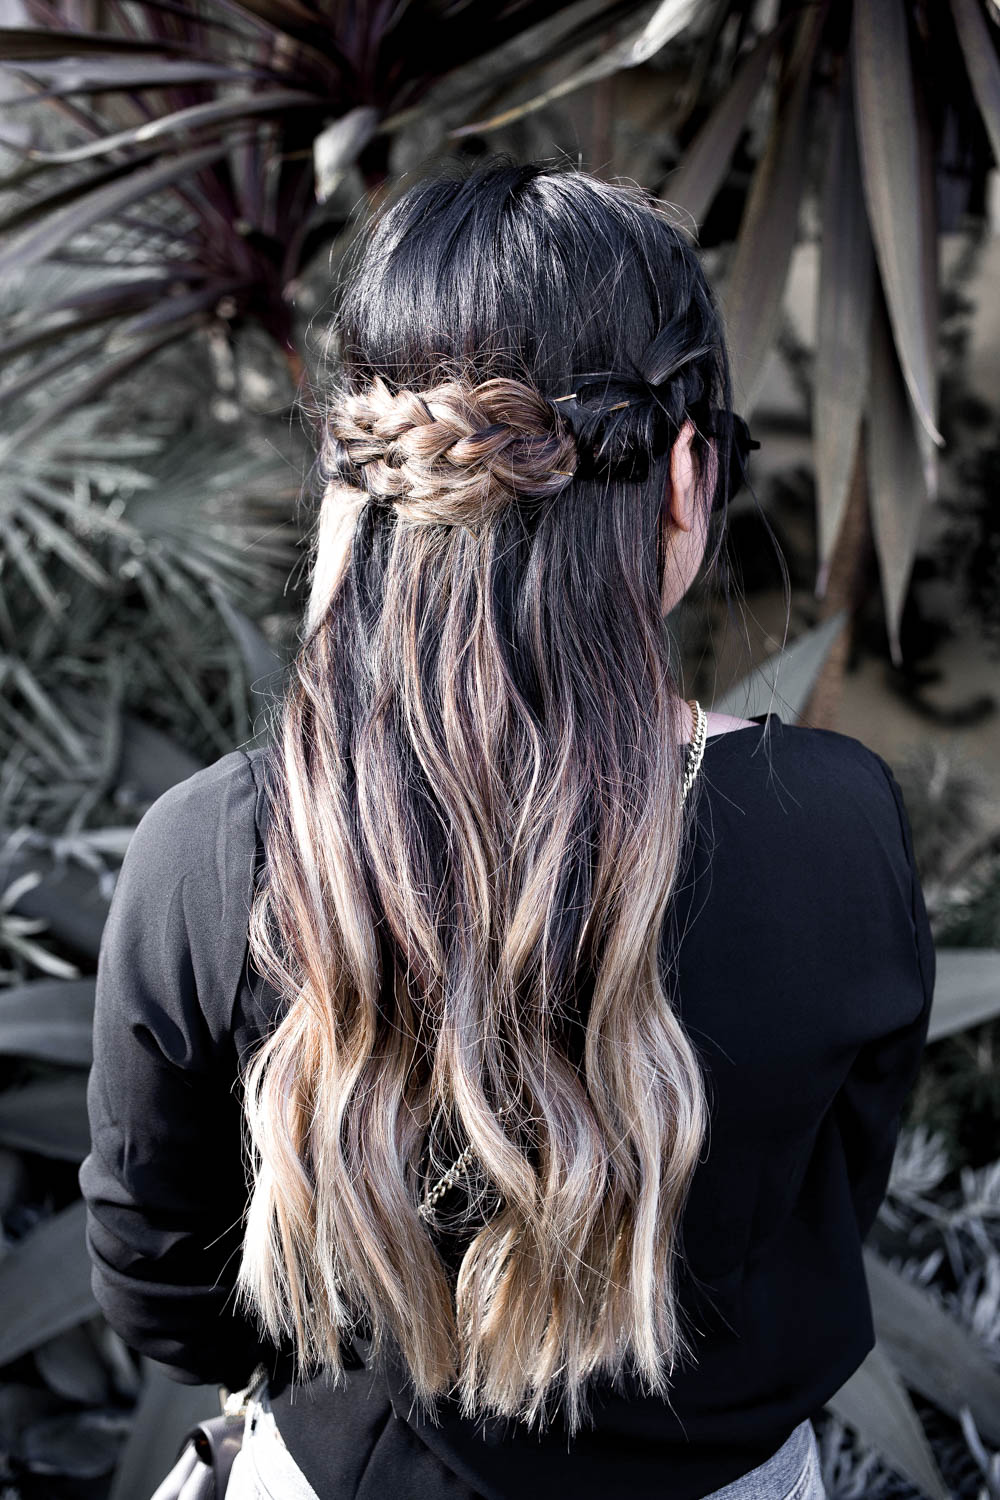
One thing I love about festival season, especially at Coachella, is the freedom to try new looks and trends. I’m not one to try crazy trends for my everyday look, but festivals are a chance for me to get creative with my hair and makeup. My inspiration can come from anywhere, but I like to make sure the trend is practical (i.e easy to do, great for the weather) and that it matches the vibe of the festival. Looking at past fashion shows, Pinterest, or blogs are great sources for inspo.
Hair can be a tricky thing, especially if you’re attending a festival with hot weather and without access to a shower. So here’s a 4-day plan to keep your hair looking festival-ready:
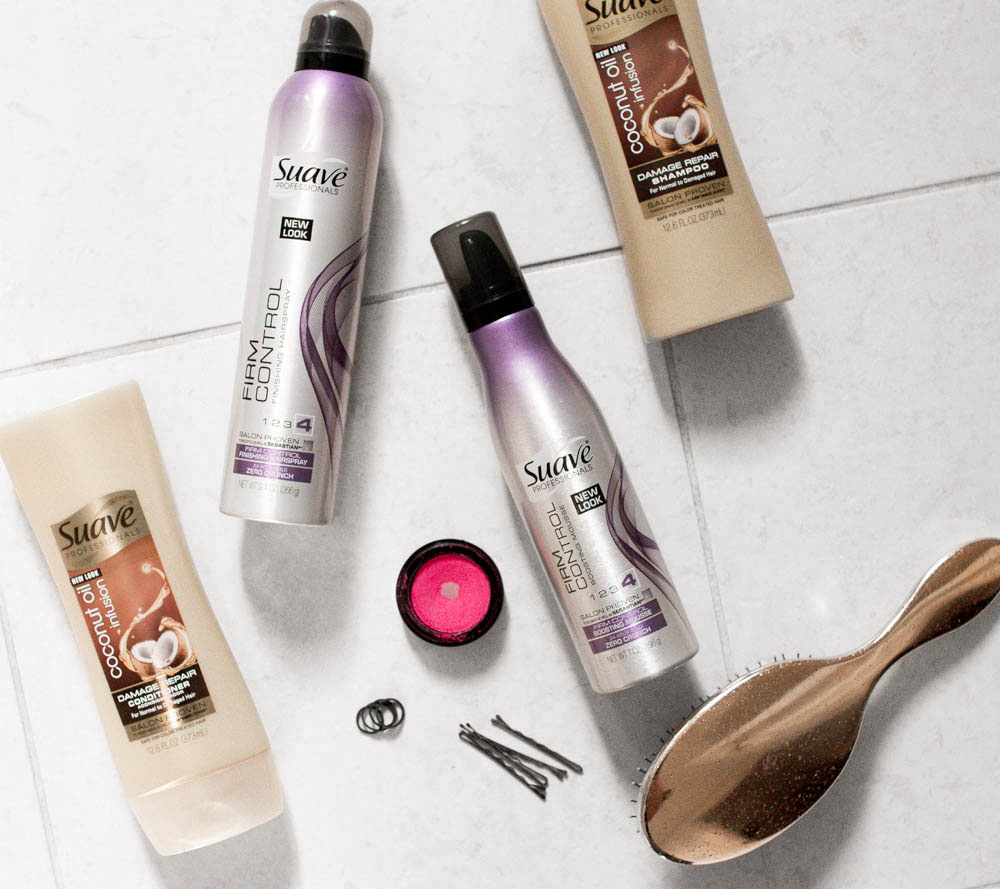
Before we get started, it’s important to bring the right haircare products with you. Here’s what I suggest bringing:
Lightweight Moisturizing Shampoo & Conditioner
- Use a lightweight moisturizing shampoo and conditioner, like the Suave Coconut Oil Infusion line. My hair is dry and bleached at the ends, so I need something that is not going to weigh my hair down but will keep it from feeling too brittle/dry. If you’re unsure of which products you need for your hair, Suave & Safeway have a quiz you can take.
Serum or Dry oil
- Again for my bleached hair, I use this to keep my ends moisturized with a serum like Suave Coconut Oil Infusion Damage Repair Oil Treatment.
Dry Shampoo
- Dry shampoo, like the Suave Keratin Infusion Dry Shampoo, will be a life saver without access to a shower.
Heat Protectant
- Just like using hot hair tools, be sure to protect your hair in hot weather! Use a hat or a heat protectant spray, like the Suave Keratin Infusion Heat Defense Leave-In Conditioner, to keep hair healthy and to preserve your hair color.
What you’ll need:
- Optional: Temporary Hair Chalk (1 wash) or Semi-Permanent Hair Dye (6-8 washes)
- Mousse, like Suave Firm Control Boosting Mousse or Max Hold Volumizing Mousse
- Hair Spray, like Suave Luxe Styling Infusion Extra Hold Hairspray or Firm Control Finishing Hairspray
- Hair Ties, large and small in clear or your hair color
- Bobby Pins, in your hair color
- Hair Brush
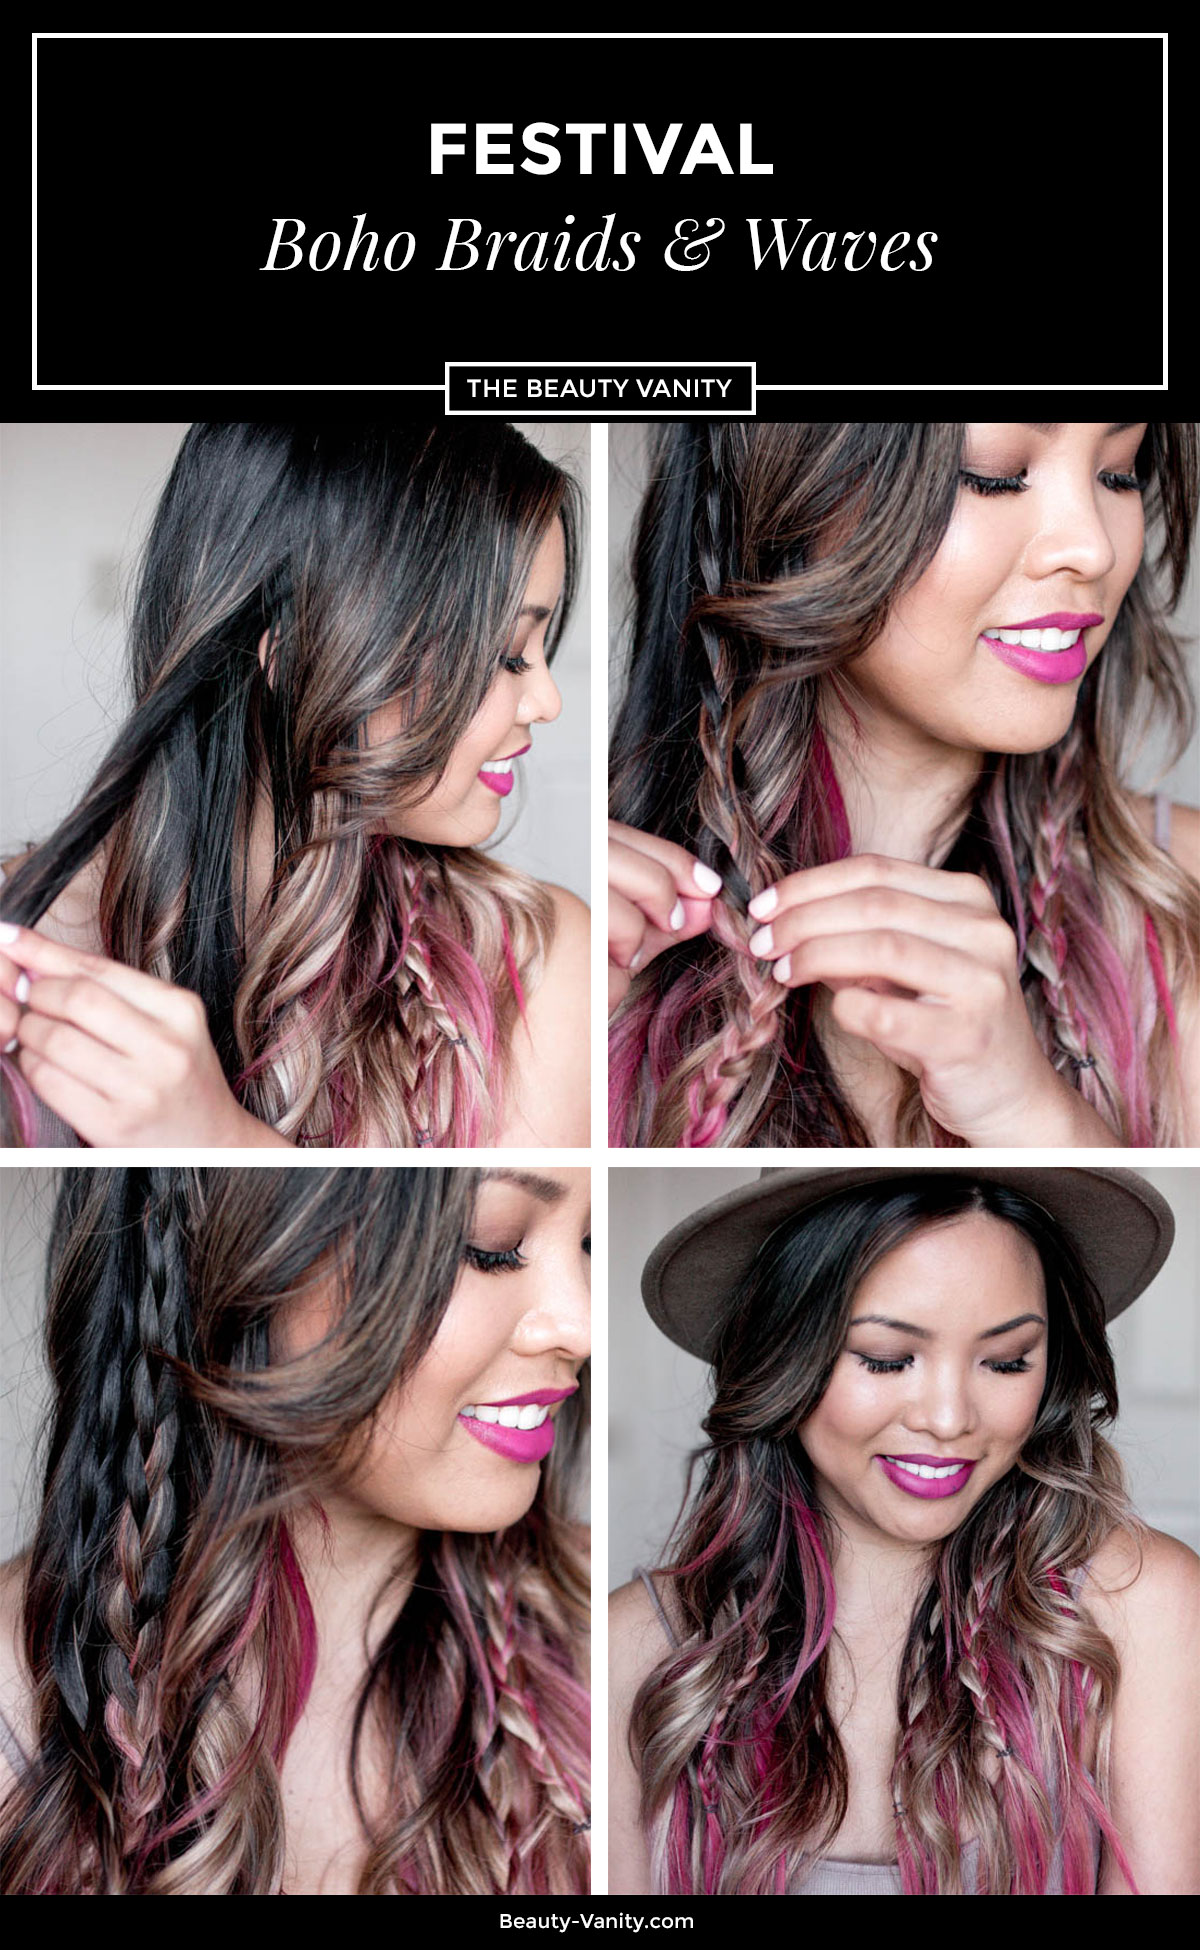
DAY 1: Festival Boho Braids & Waves
- Starting with curled hair, grab .5 – 1 inch sections near the nape of your neck. Feel free to use a hairspray or dry shampoo to give the section texture for easier braiding.
- Braid each section and tie with an elastic.
- Once braided, gently pull on the sides of the braid to widen it. Don’t worry if it’s messy, the messier the better!
- Repeat 3 – 4x.
- To make hair look piece-y with some volume, take some mousse, rub it in between your hands and apply to your waves. Add remaining into your roots.
DAY 2: Milkmaid Braids
- After brushing your hair, part your hair down the middle and section your hair in two. I also like to leave some face-framing layers out.
- Braid each section and tie with an elastic. Your hair should be slightly textured from the day before, but feel free to add dry shampoo, hair spray, or mousse for easier braiding.
- Pull on the sides of the braid to thicken it.
- Take one braid over your head and secure with bobby pins near the hair elastic, in the middle of the braid, and at the beginning of the braid. I like to use two bobby pins in an “X” near the hair elastic and at the beginning of the braid for extra security. Don’t worry about the hair sticking out at the end of the braid yet.
- Do the same with the other braid, but place the 2nd braid over the end of the 1st braid. This will hide the hair from the 1st braid that is sticking out. Once the 2nd braid is covering the 1st braid’s end, place the 2nd braid behind the 1st one. Tuck in the ends of the 2nd braid under the first.
- Secure both braids with bobby pins at the beginning, middle and end. This may require a few bobby pins, so I suggest using bobby pins in your hair color to help blend them into your hair. Spray finished look with hair spray.
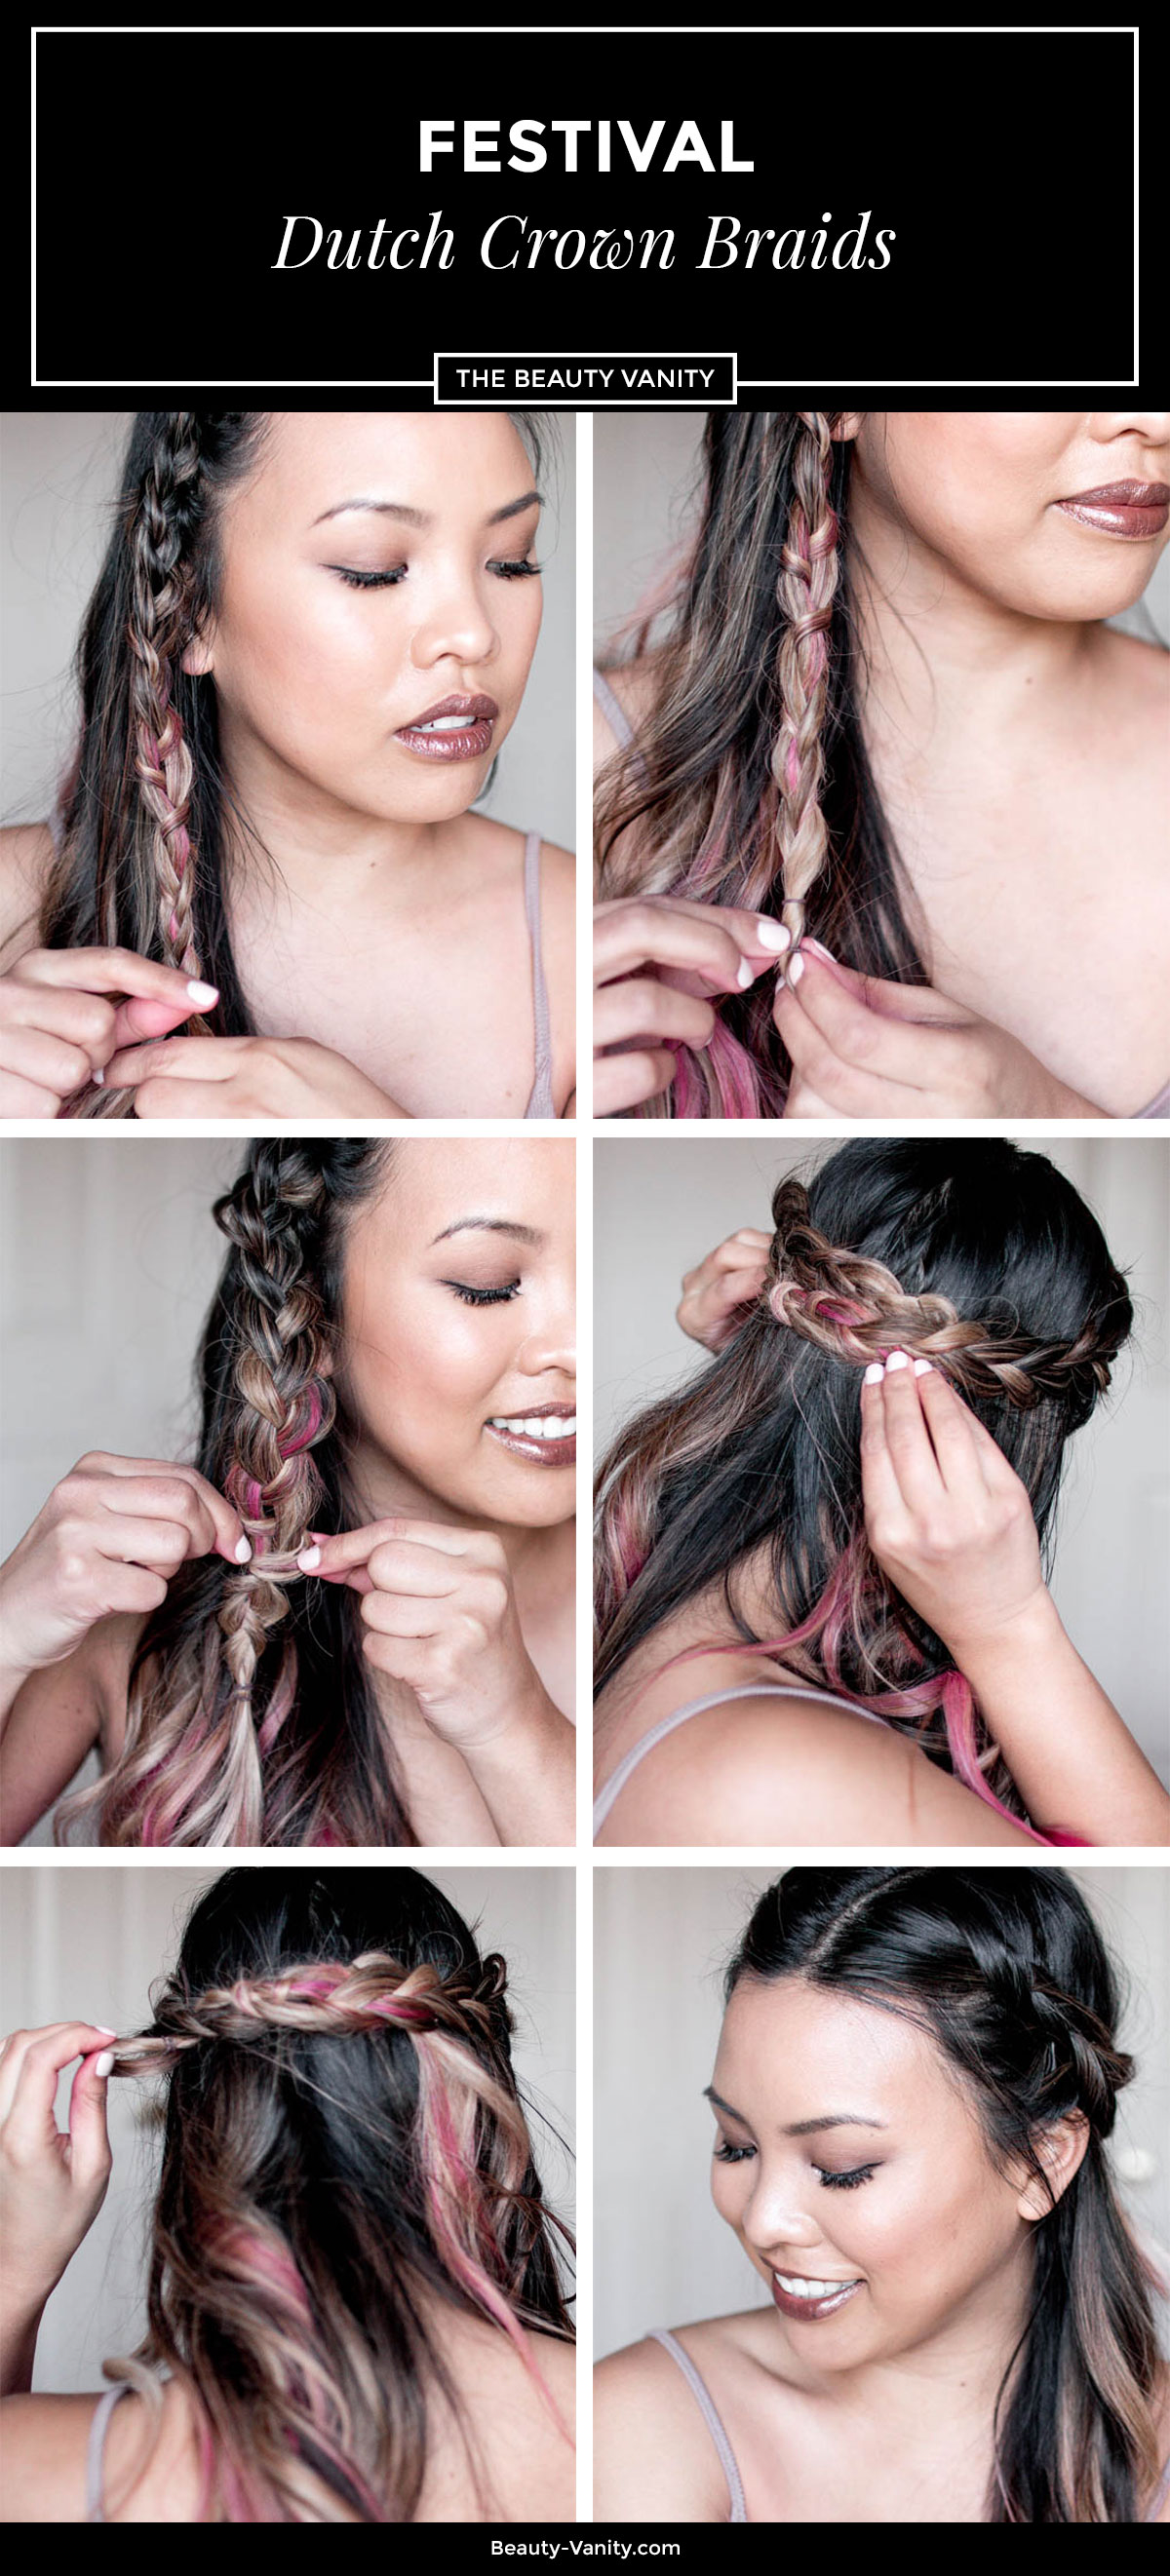
DAY 3: Dutch Crown Braids
- Part your hair in the middle and take a 2-inch section at the top of your head.
- Start to french dutch braid your hair and as you braid, grab sections of hair near your forehead down to ear. If you’re new to dutch braiding, it’s basically a braiding technique where you bring each section under each other vs over each other. Constantly check how much you need to braid each section so that it’s long enough from ear to ear when you pin it up.
- Tie with a hair elastic and pull on the sides of the braids to thicken.
- Take one braid and bring it across the back of your head. The braid should be long enough from ear to ear. Secure the braid at the beginning, middle and end with bobby pins. I place the bobby pins in an X at the beginning and end, and then apply bobby pins sideways in the middle. Apply bobby pins underneath the braid to hide it.
- Take the next braid and apply it over the end of the 1st one and then tuck in the end of the 2nd one under the 1st one. This will hide the hair elastics. Secure with bobby pins again. Feel free to hide the ends under the braids, but I like to leave it out.
DAY 4: Messy Top Knot
- Flip head upside down and use a hair brush to create a really high ponytail. If you have thick hair like mine, tie with a large hair elastic.
- Start creating a bun by slightly twisting the section and then wrapping it around the hair elastic. Don’t worry if it’s messy, for me, the messier the better!
- Secure with bobby pins.
- Pull face-framing pieces out for a messier look.
Happy festival season! Save $2 when you buy 4 participating Suave products at Safeway, click on the image below for coupon. Offer is valid 4/1 – 4/30.


