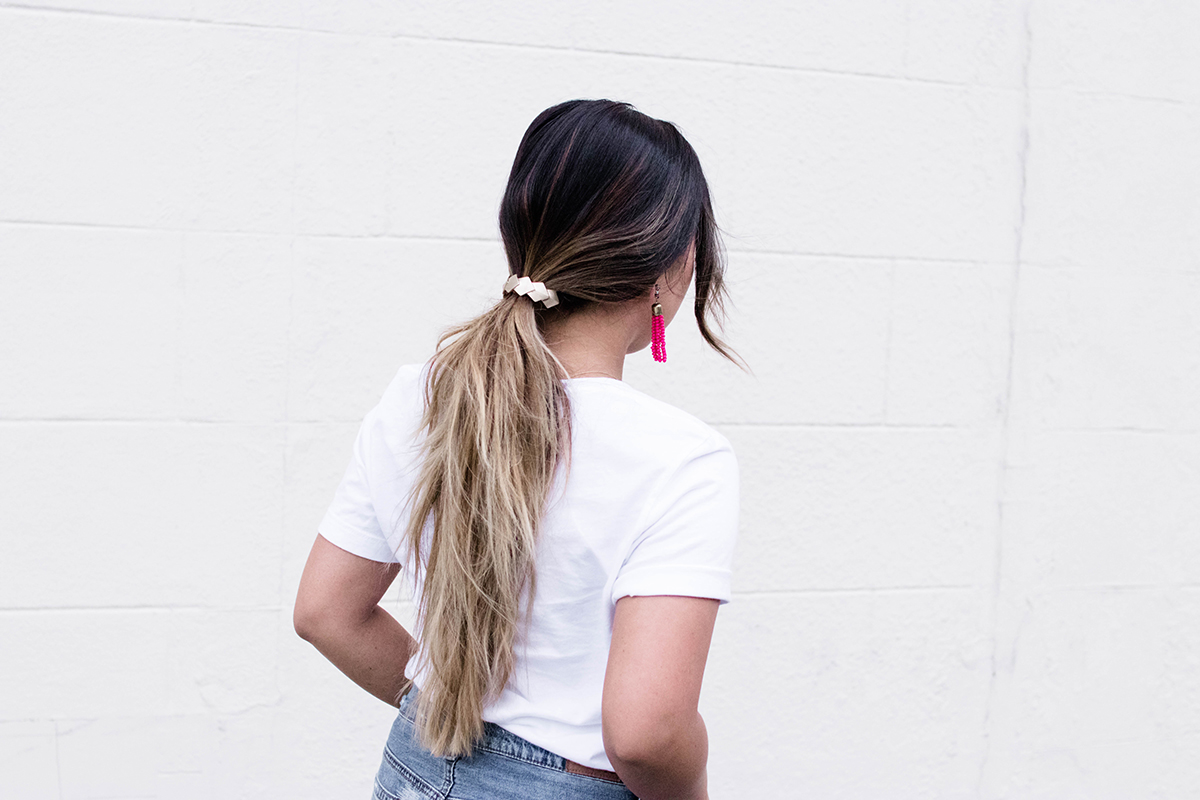
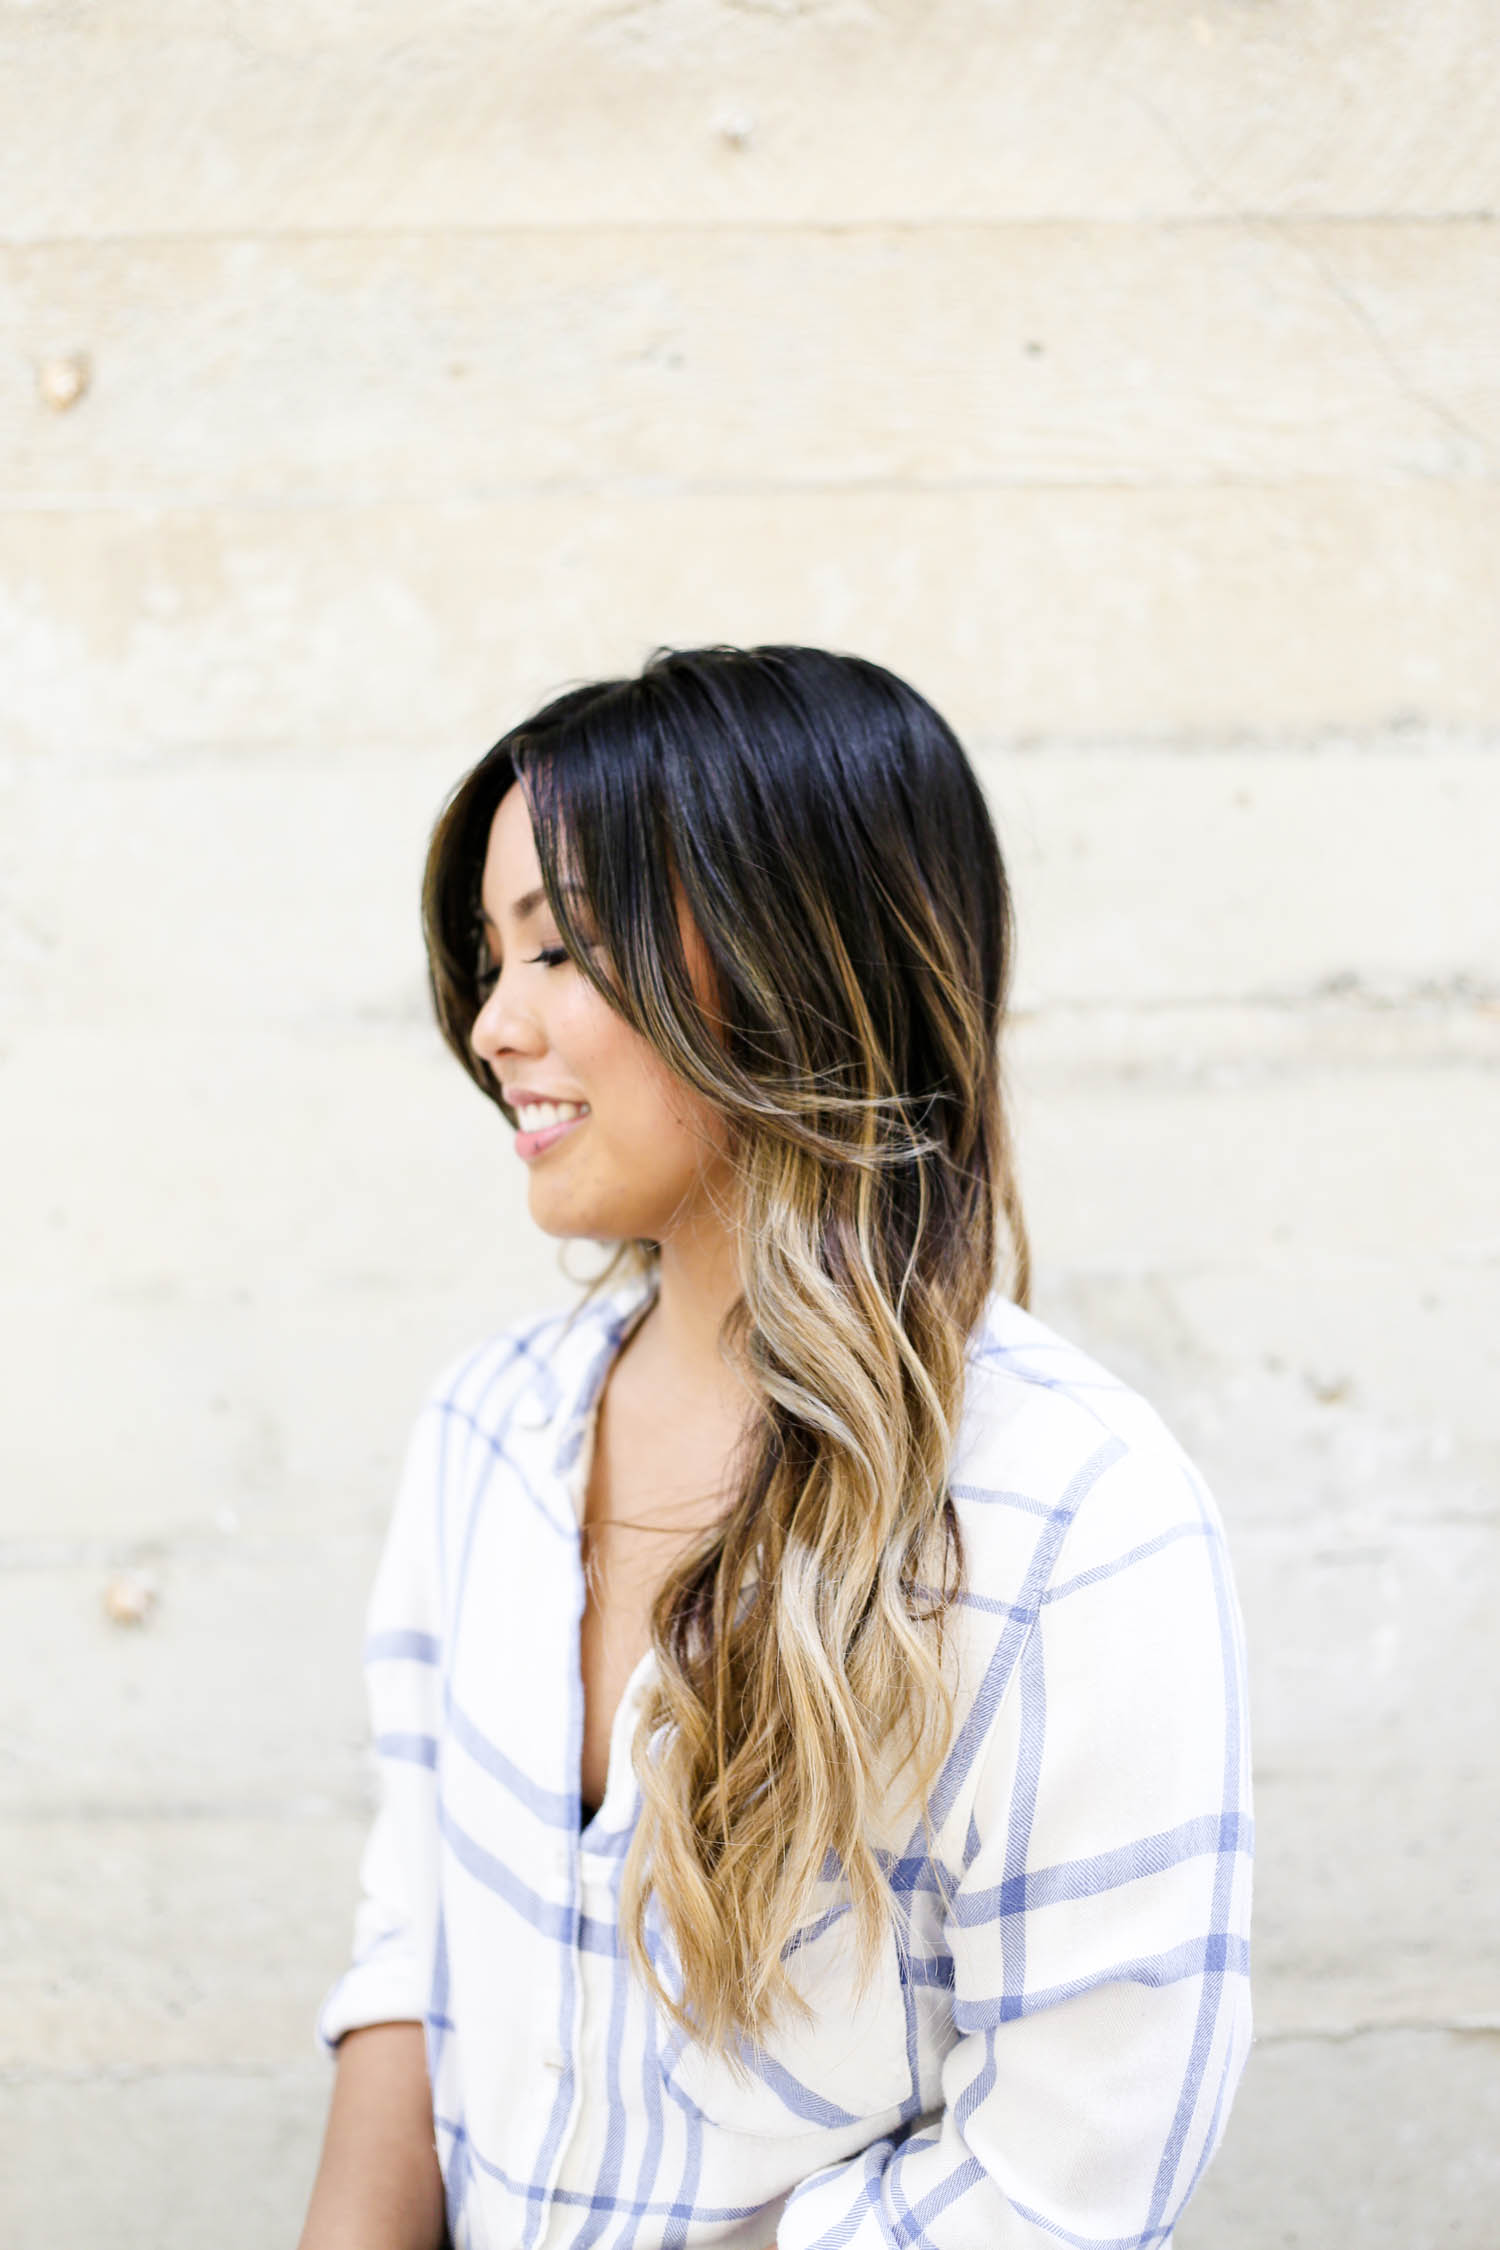
You’ll fool everyone into thinking you made a serious effort with your hair.
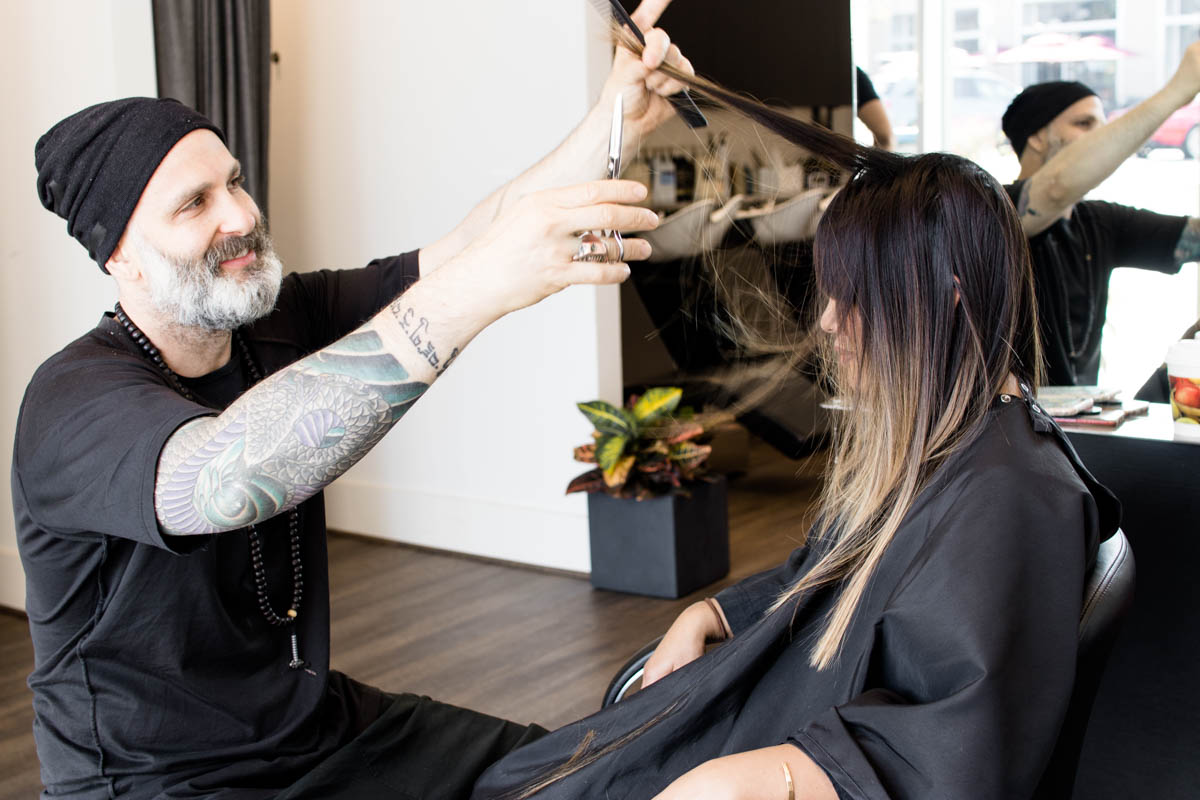
You’ve probably heard it a million times from your hairdresser to stop washing your hair so often. But what do you do when day 2 or 3 rolls around and your hair is a mess?
But before you’re tempted to just throw it up in a bun or a regular pony, we say rock the texture and create the chicest undone pony EVER. If your mornings are anything like ours, you probably could care less about spending a ton of time doing your hair, but we promise you, this one is ridiculously easy and it’s basically a no-brainer.
[one_half padding=”0 5px 0 0px”]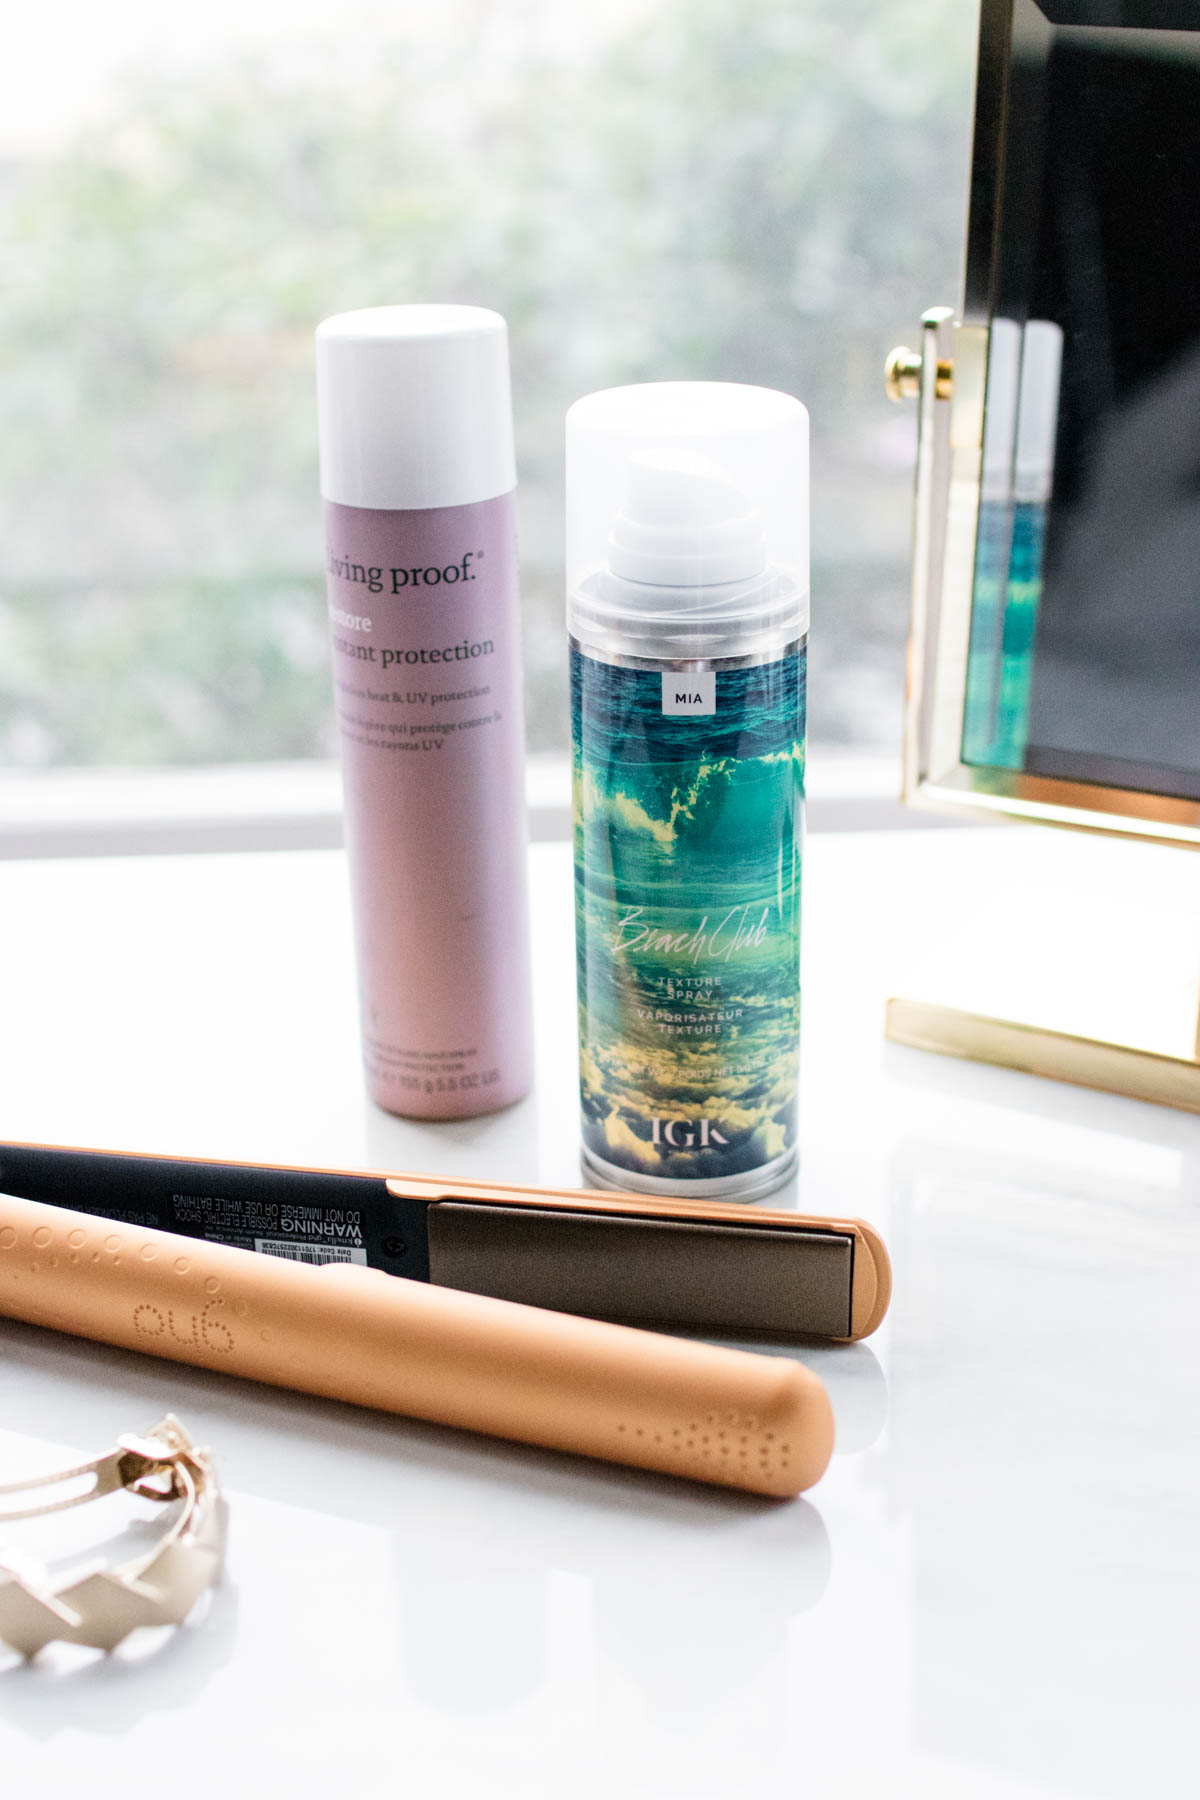 [/one_half]
[one_half_last padding=”0 0px 0 5px”]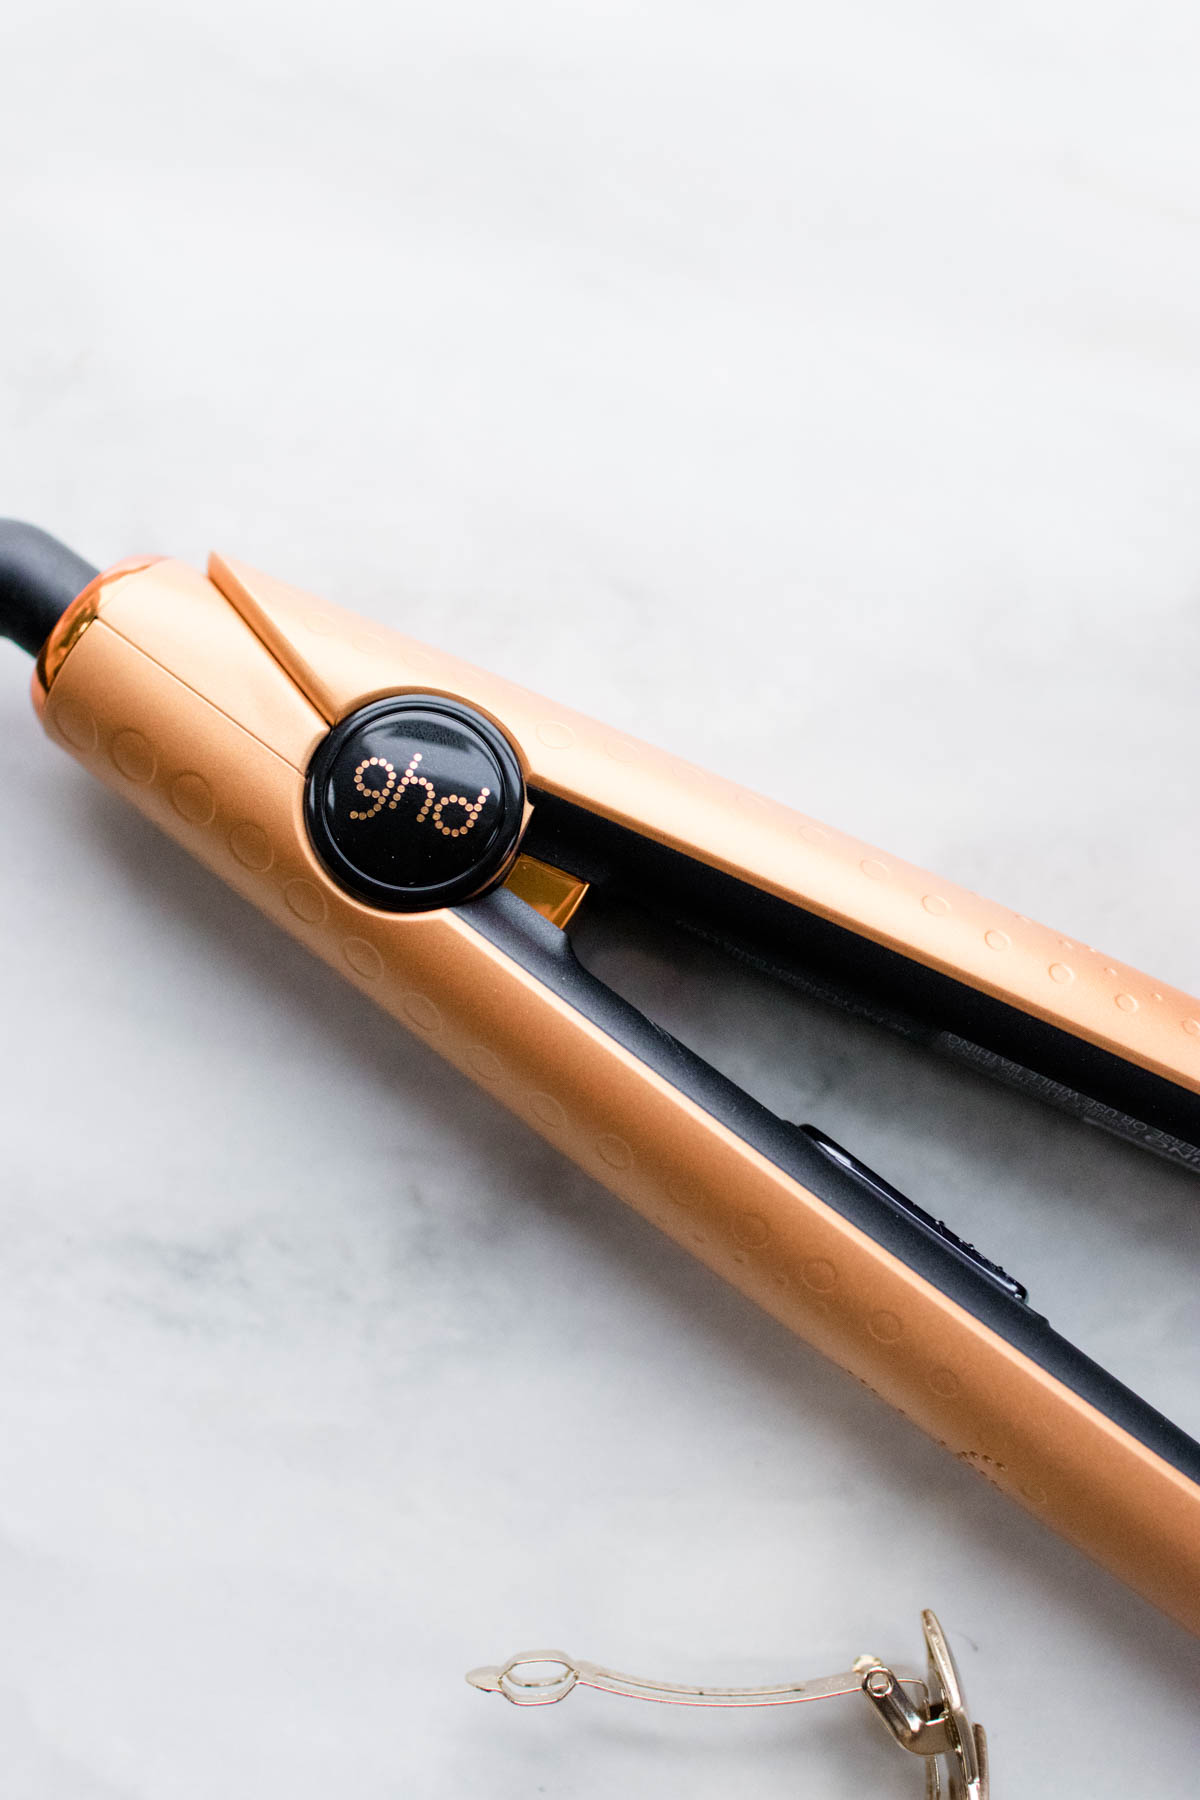 [/one_half_last]
Where to wear
- Work
- Party
- Wedding
- The options are endless!
What You’ll Need:
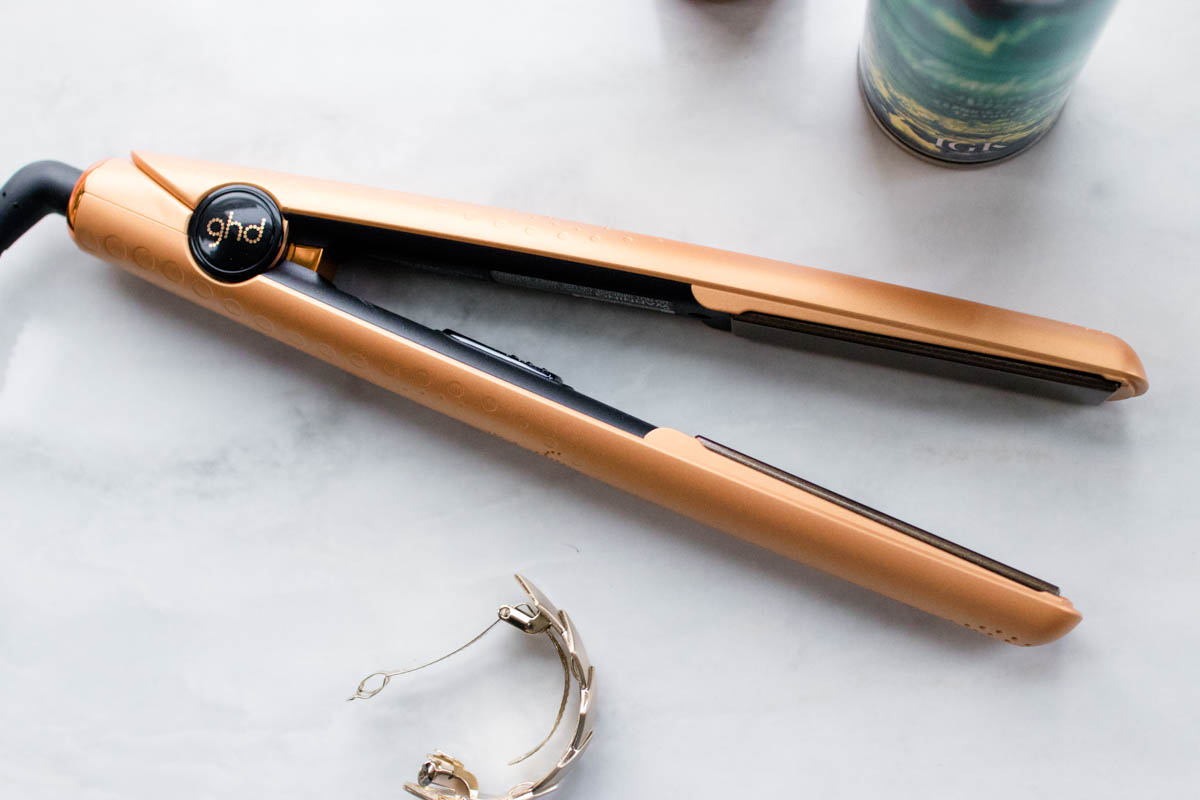
- A good straightener, like this one from ghd
- Hair protectant
- Texturizing spray
- Any metallic barrette that can hold your hair
[one_half padding=”0 5px 0 0px”]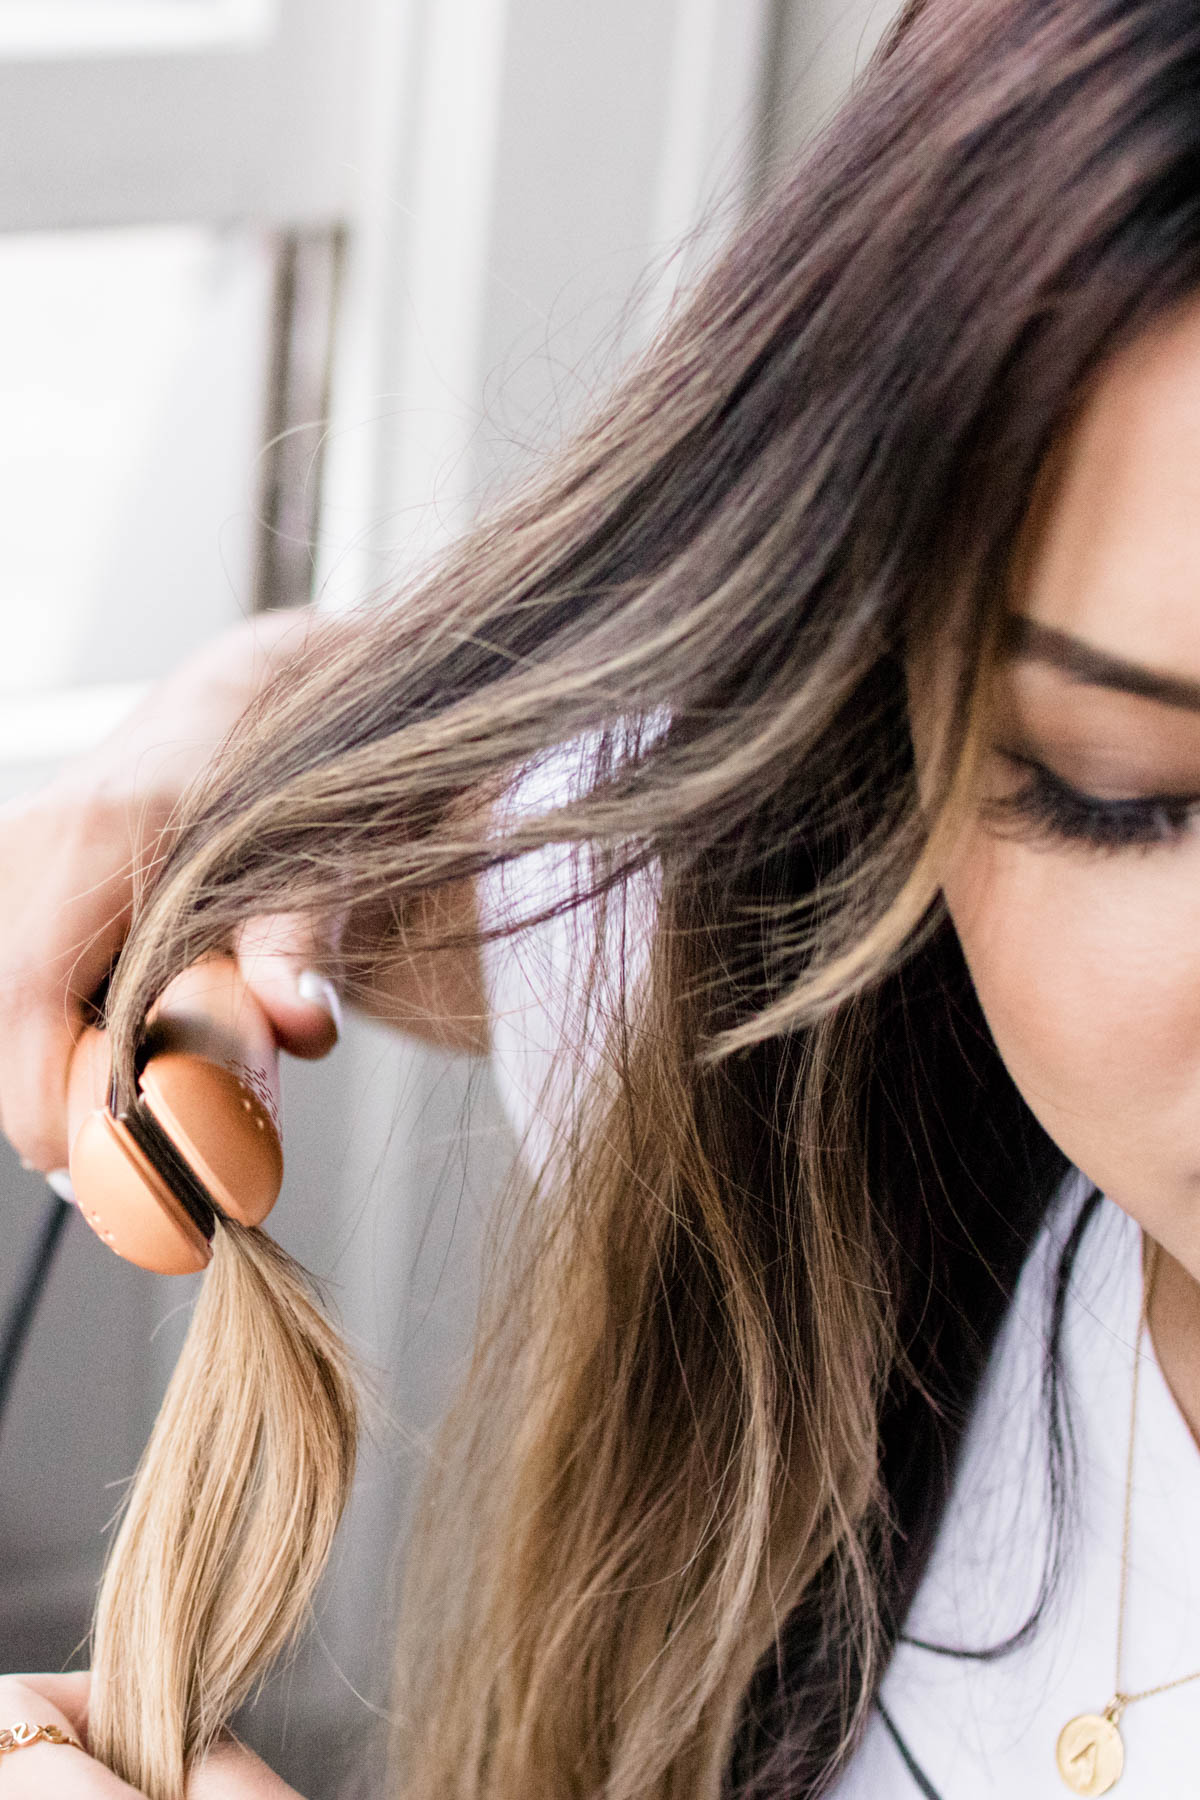 [/one_half]
[one_half_last padding=”0 0px 0 5px”]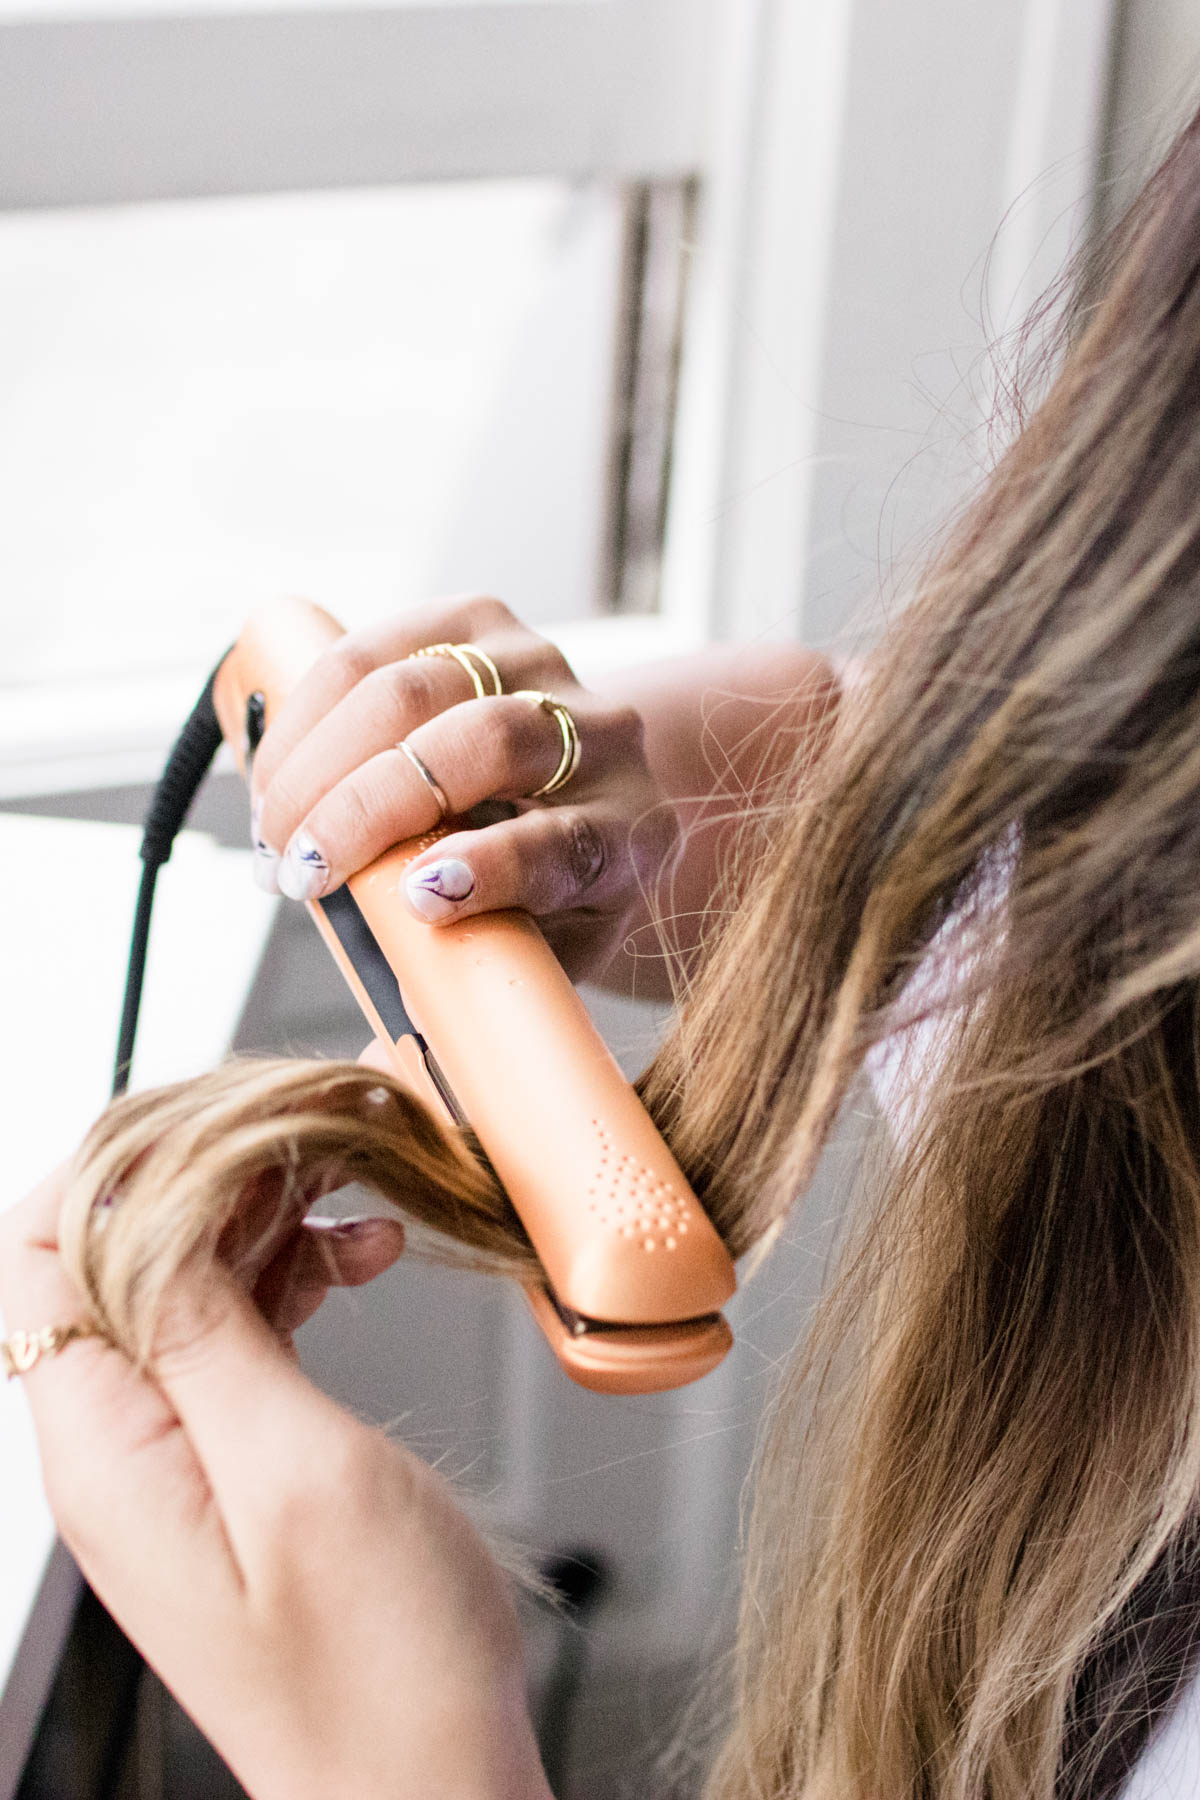 [/one_half_last]
Prep your hair
Before you get started, brush through your hair and spray heat protectant all over. When working with hot tools (that can heat up to 400 degrees!), it’s super important to protect your hair, especially if it’s color treated.
Create waves (not curls!) with a straightener
This is where a good straightener is important. Make sure that the straightener is wide enough to hold a section, that it has ceramic plates to keep your hair from snagging, and that the plates have curved edges to easily create waves and curls. Using this ghd Wanderlust Collection Amber Sunrise Gold Styler is an absolute dream because it heated quickly and glided through my hair.
Section your hair into three sections and start with the lower section closest to your neck. Before you start, think about creating a wave in an S pattern where you’ll be moving the straightener inwards (curving under) and outwards (curving out.)
Starting about 2 inches away from your roots, take a 1.5 – 2-inch wide section of hair and curve the straightener under to create the first wave.
Keep doing so until the first wave is about 2 inches, but feel free to adjust accordingly to your length. The longer the wave, the more subtle it’ll look.
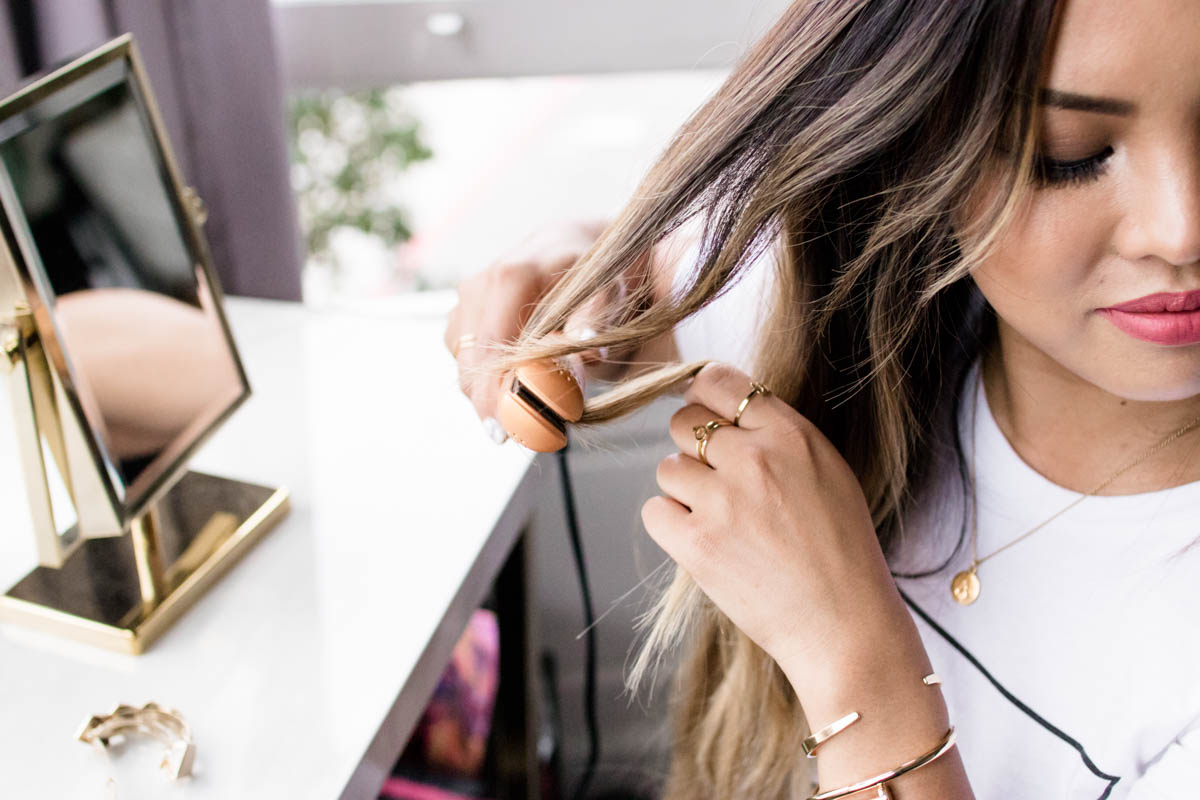
After the first wave, curve the straightener out and continue moving in the straightener in and out. Stop when you’re two inches away from your ends and straighten the ends.
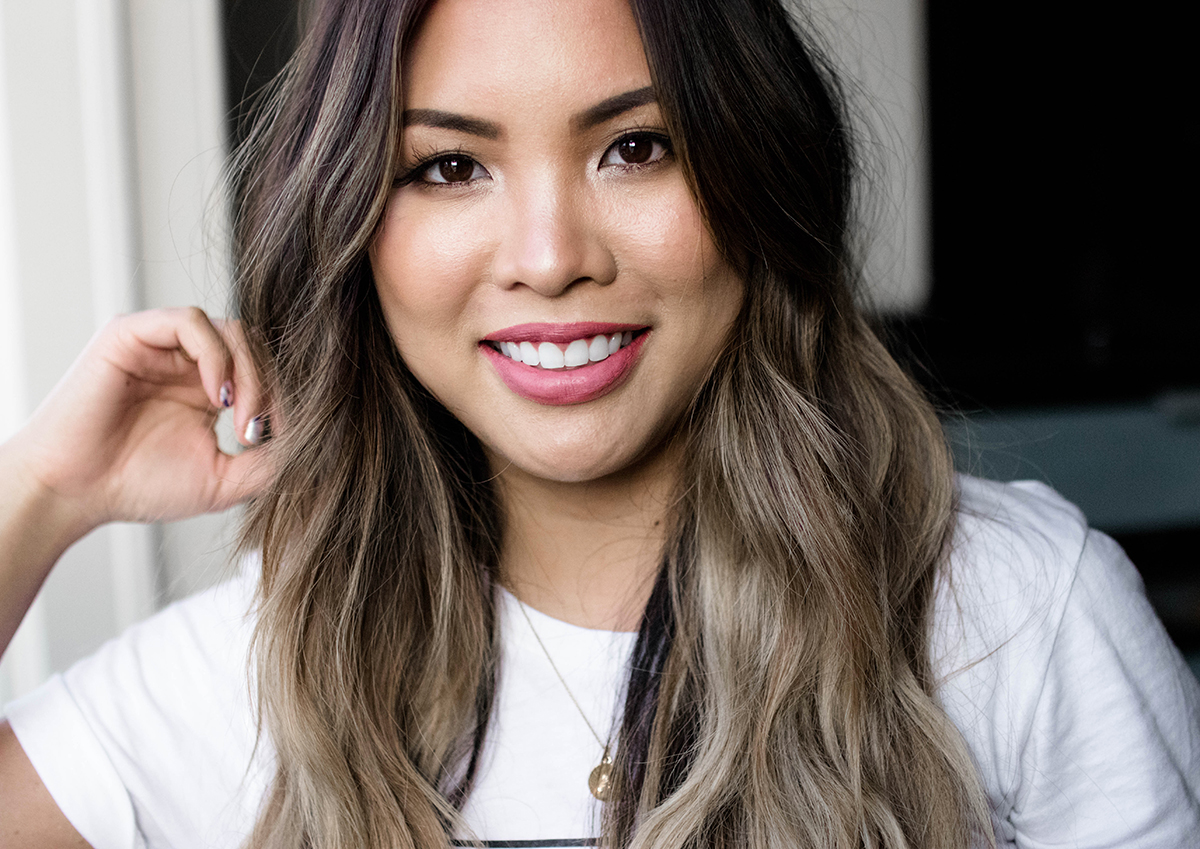
TIP: By day 2 or 3, your hair is bound to have texture already, so don’t over-think the waves, the messier the better (see pic below). Practice makes perfect and don’t worry too much if you see a few crimps. 
[one_half padding=”0 5px 0 0px”] [/one_half]
[one_half_last padding=”0 0px 0 5px”]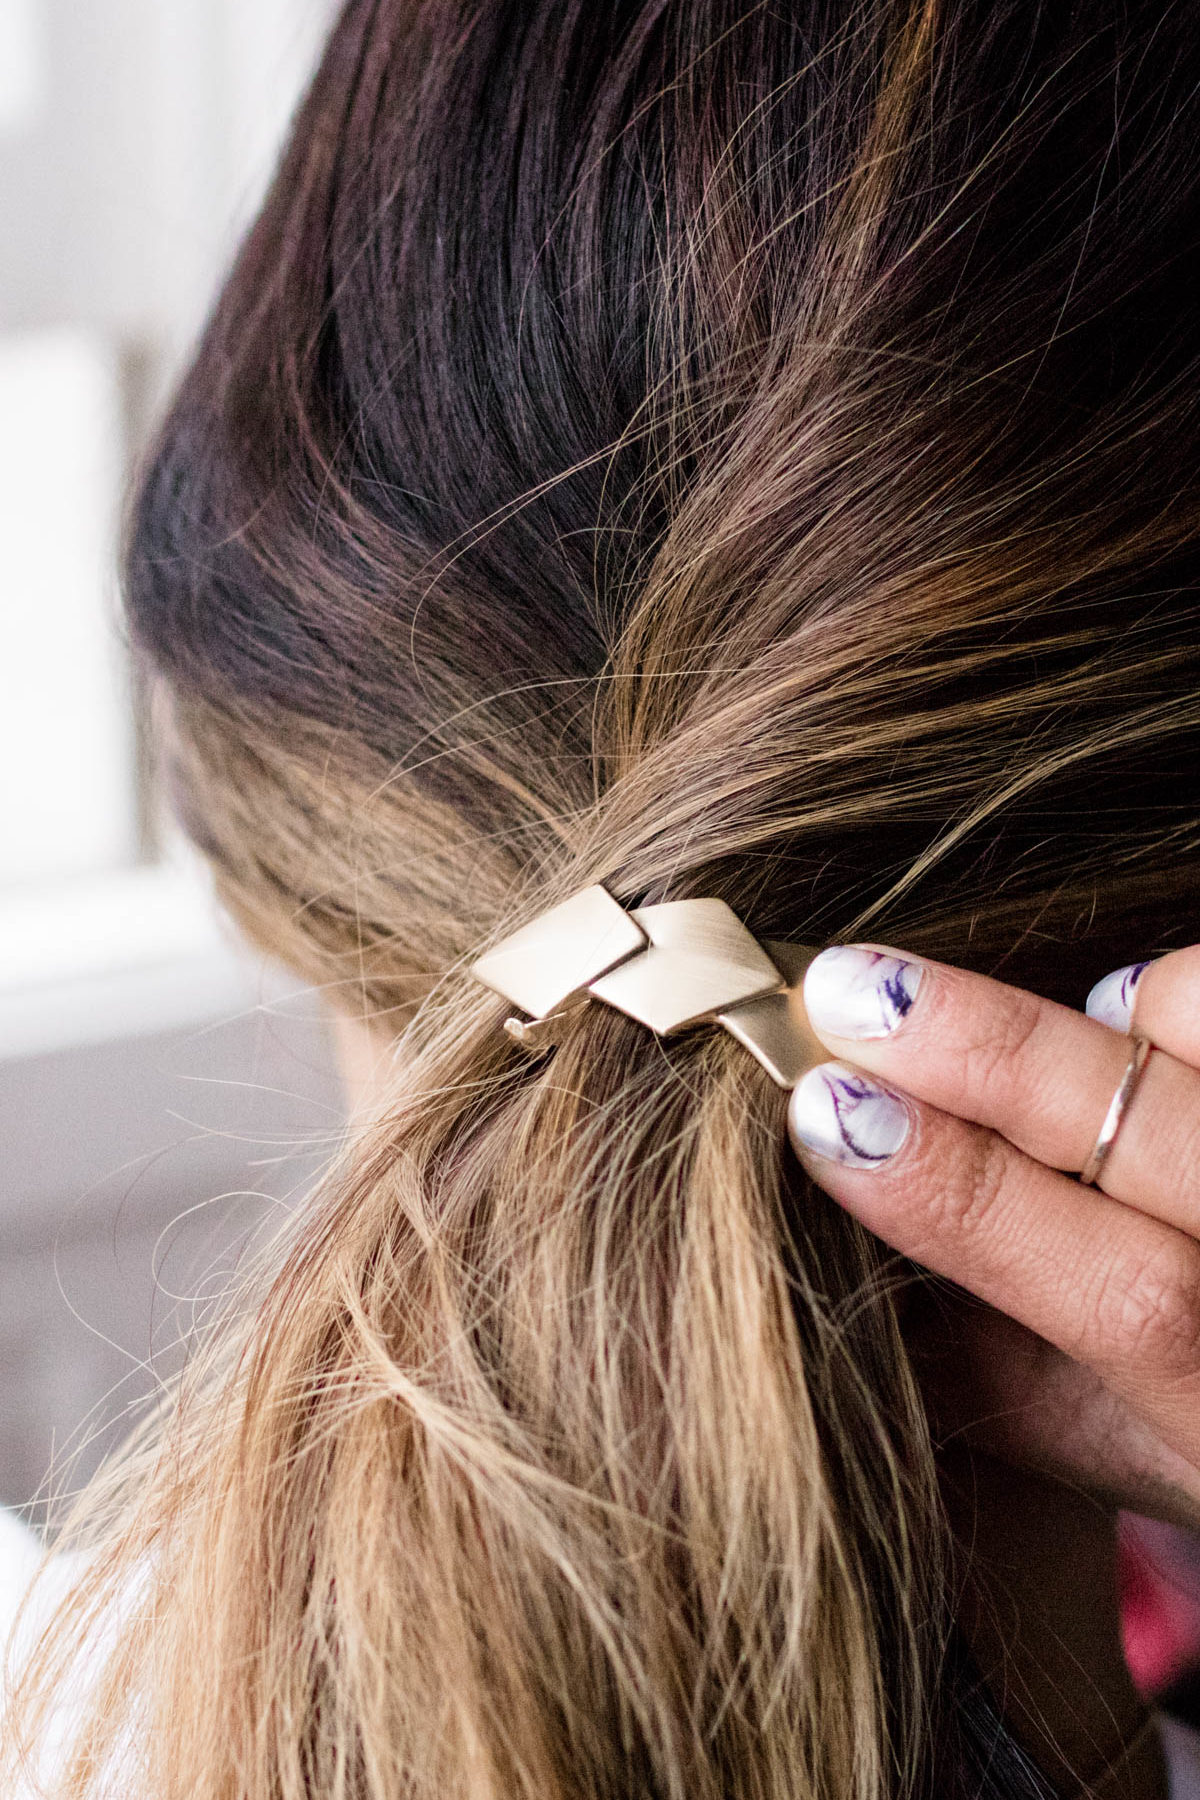 [/one_half_last]
Clip hair
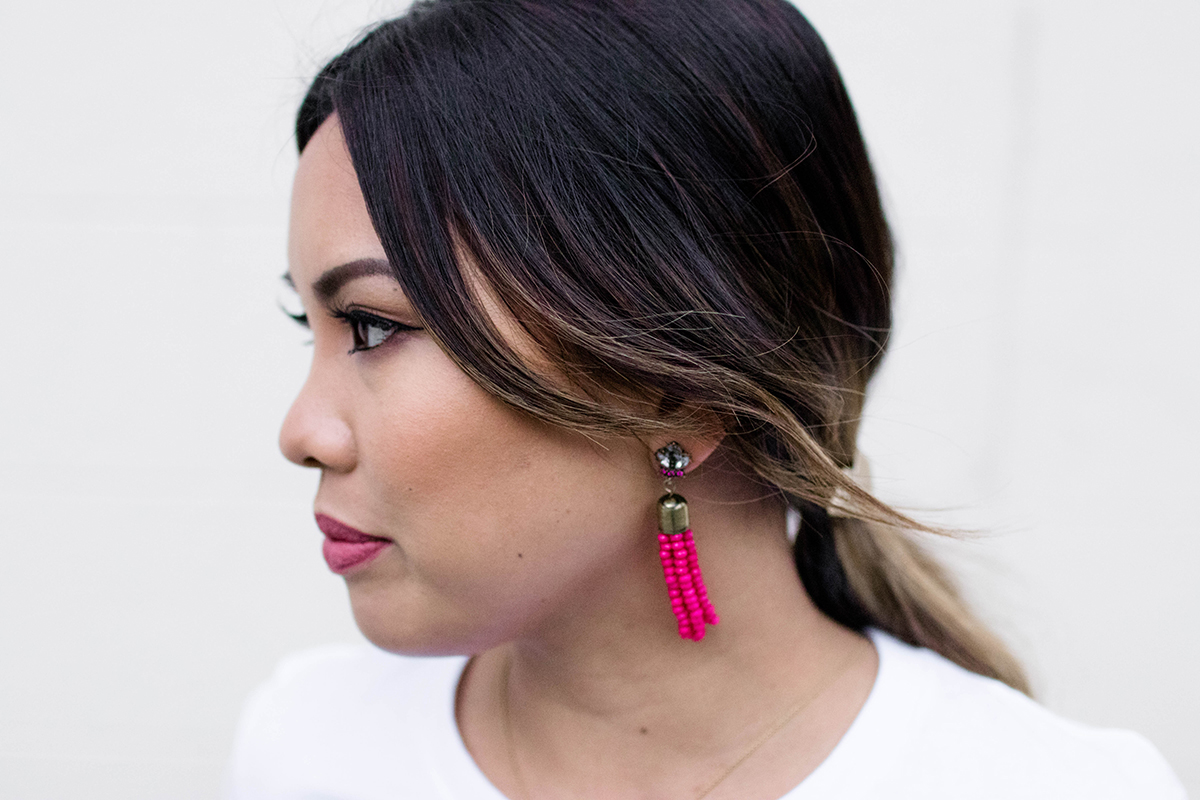
Gather hair at the nape of your neck and use a barrette to clip your hair into place. Create volume at the crown by pulling hair upwards and pull out your bangs pieces for more of a deconstructed look.
